
A Stable and Versatile Box Bottom
Why plywood works best for the bottom of a box.
 Apr 06, 2021

When it comes to making bottoms for my boxes, I typically rely on a single style. At its heart is a thin sheet of plywood, either 3/16 in. or 1/4 in. thick. Why plywood? Because it moves very little and can be glued into a rabbet without creating problems with wood movement. It’s an easy bottom to make, but that’s not the only reason I use it repeatedly. Most of my boxes are small and delicate, but because the bottom is glued to all four sides, they are rigid and strong. What’s more, I like the aesthetic options a plywood bottom affords me. I can glue veneer to it, and fabric, too. I also can bring the edge of the bottom very close to the outside of the box, and paint it. Rather than an afterthought hidden beneath the box, the bottom becomes a means of strengthening a box’s design. Solid-wood bottoms are less versatile, less stable, and don’t add strength to the box because they must float free in a groove.
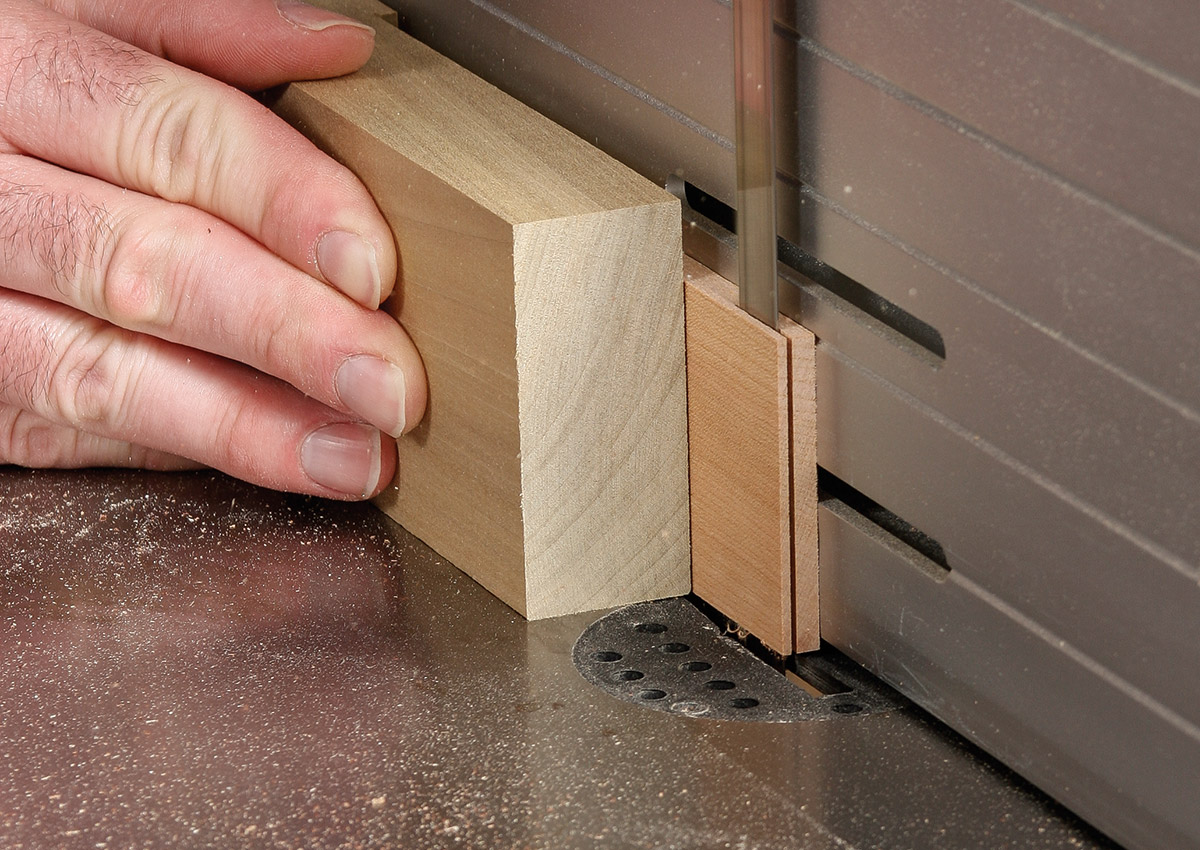
That’s enough of the why. Let’s get to the how. It all starts with a piece of plywood. I always glue a piece of veneer to what will be the bottom’s outside face. Sometimes it’s veneer that I bought (which is very thin), but more often than not it’s veneer that I’ve sawn in my shop at the bandsaw. I prefer shopsawn veneer because I can cut it from the same board used to make the box. The grain and color match between the bottom and sides are then perfect. But I’m getting a bit ahead of myself. Back to the plywood. Cut it oversize. Next, cut a piece of veneer that’s a bit wider and longer than the plywood. How thick? Well, the veneer should be no more than1/8 in. thick, but you need some meat to work with, so it’s OK to cut it 3/16 in. thick for now.
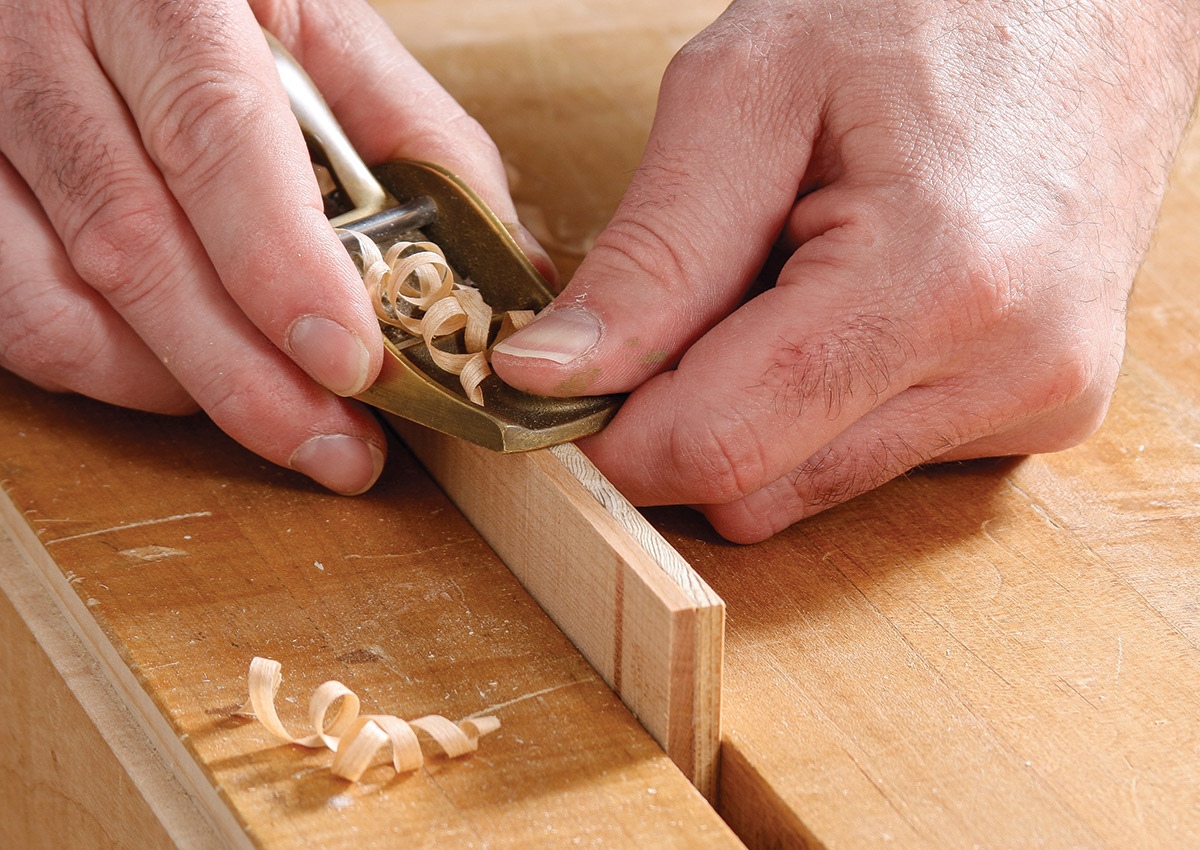
When you make shopsawn veneer, you end with a thin piece of veneer that is smooth on one face (because it’s been jointed so that you can run it against the saw’s fence) and rough on the other from the bandsaw blade. Glue the smooth face to the plywood, with a bit of overhang on all four sides. Don’t worry about the rough side, as it’s easier to plane it smooth after it’s been glued to the plywood. Give the glue an hour or two to dry, and then plane the veneer down to the plywood edges. After that, plane the rough side smooth, but just smooth enough to stick some tape to it (more on that later).
 |
 |
 |
| 1. Resaw a veneer that’s a little wider and longer than the plywood bottom. | 2. Glue the veneer (smooth face down) to the outside face of the bottom. | 3. Clamp between cauls and allow an hour or two for the glue to dry. |
 |
 |
 |
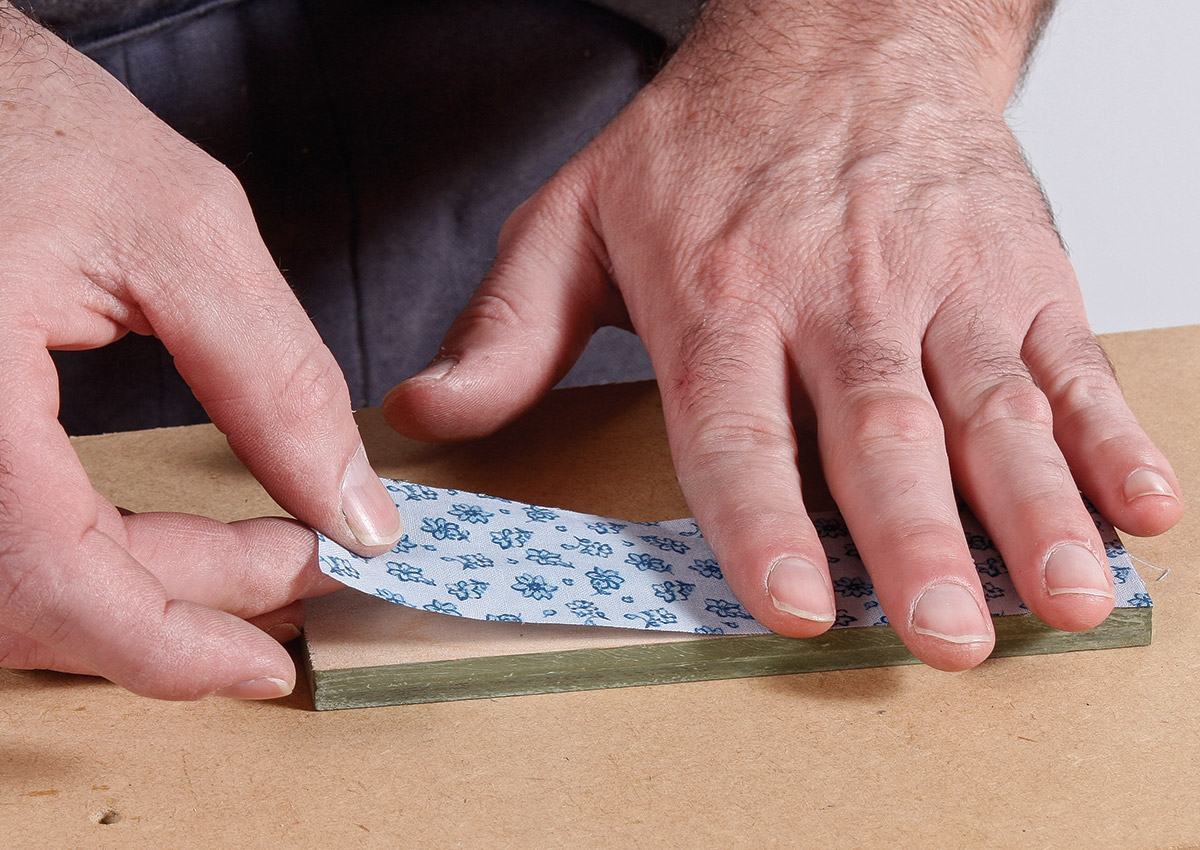
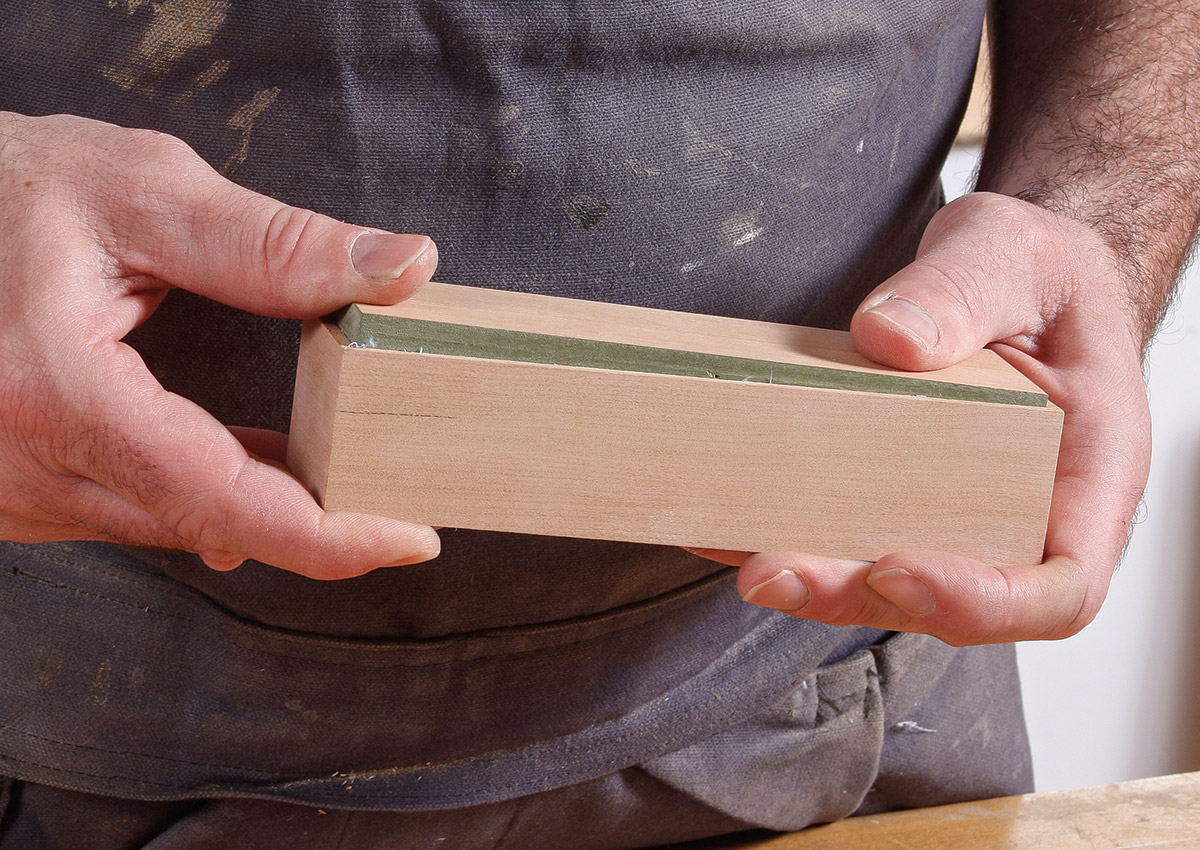
| 4. Trim the veneer flush to the plywood. | 5. Fit the veneered bottom in the box. | 6. Completely cover the veneer face with blue painter’s tape. |
 |
 |
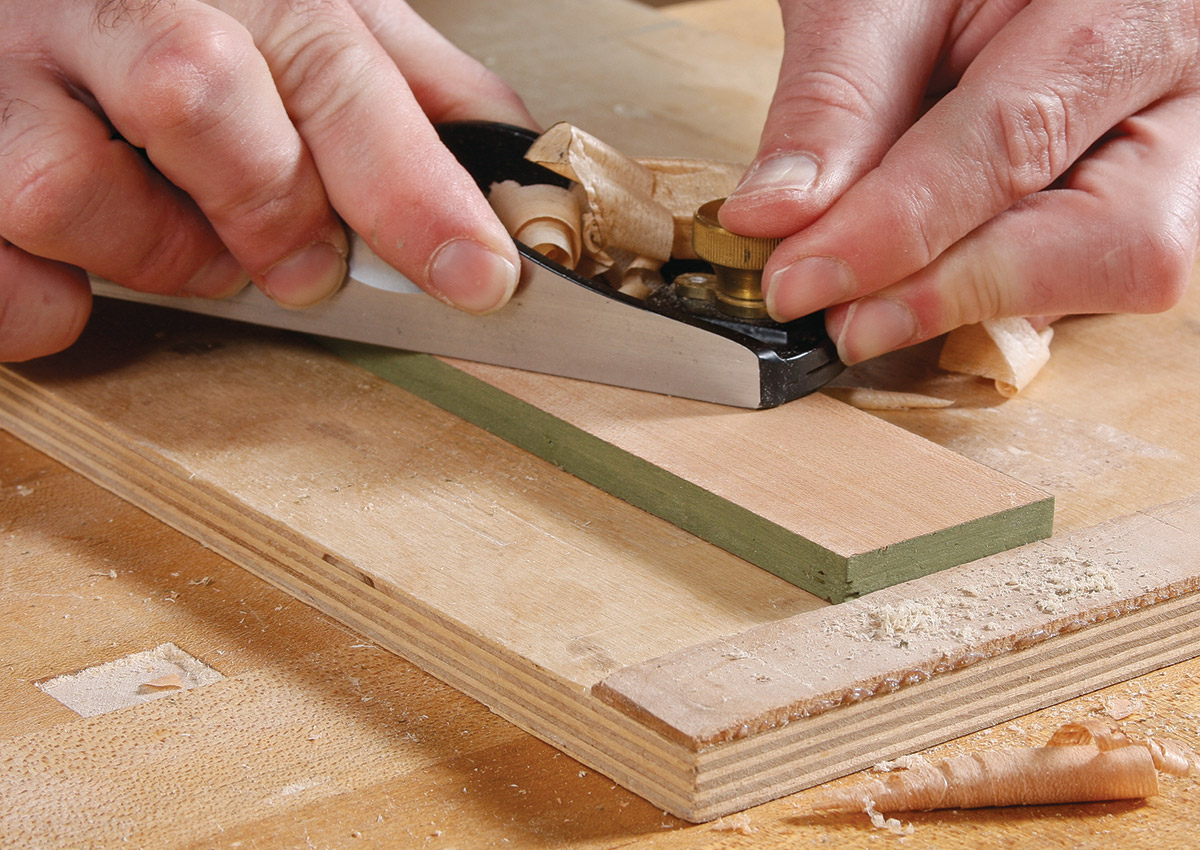 |
| 7. Trim the tape flush with the edges of the bottom. | 8. Paint the edges of the bottom with milk paint. | 9. Remove the tape and plane the veneer after the milk paint dries. |
Now is when you cut the bottom to size and fit it to the box. It’s smart to wait to do this because you end up with cleaner edges. The next thing I do is paint the edges of the bottom with milk paint. I do it for two reasons. First, the paint covers up the plywood edge, but second, and more important, the milk paint is a nice detail. I begin by covering the entire surface of the veneer with blue tape. Cut the tape flush with the bottom’s edges. Mix up the milk paint and paint the edges (I explain how to do this in “Two Simple Finishes for Boxes”). [LINK here] After you’re done painting the edges, pull up the tape and plane the veneer again to clean up the surface. No matter how well you tape the veneer, there will be paint around the edges. Trust me. I know from experience. Bring the veneer down to at least 1/8 in., but preferably less.
 |
 |
| 10. Trace around the bottom onto the fabric with a thin-tip marker. | 11. Cut the fabric just inside the pen line. |
 |
 |
| 12. Spray glue onto bottom. | 13. Carefully lay down the fabric. |
 |
 |
 |
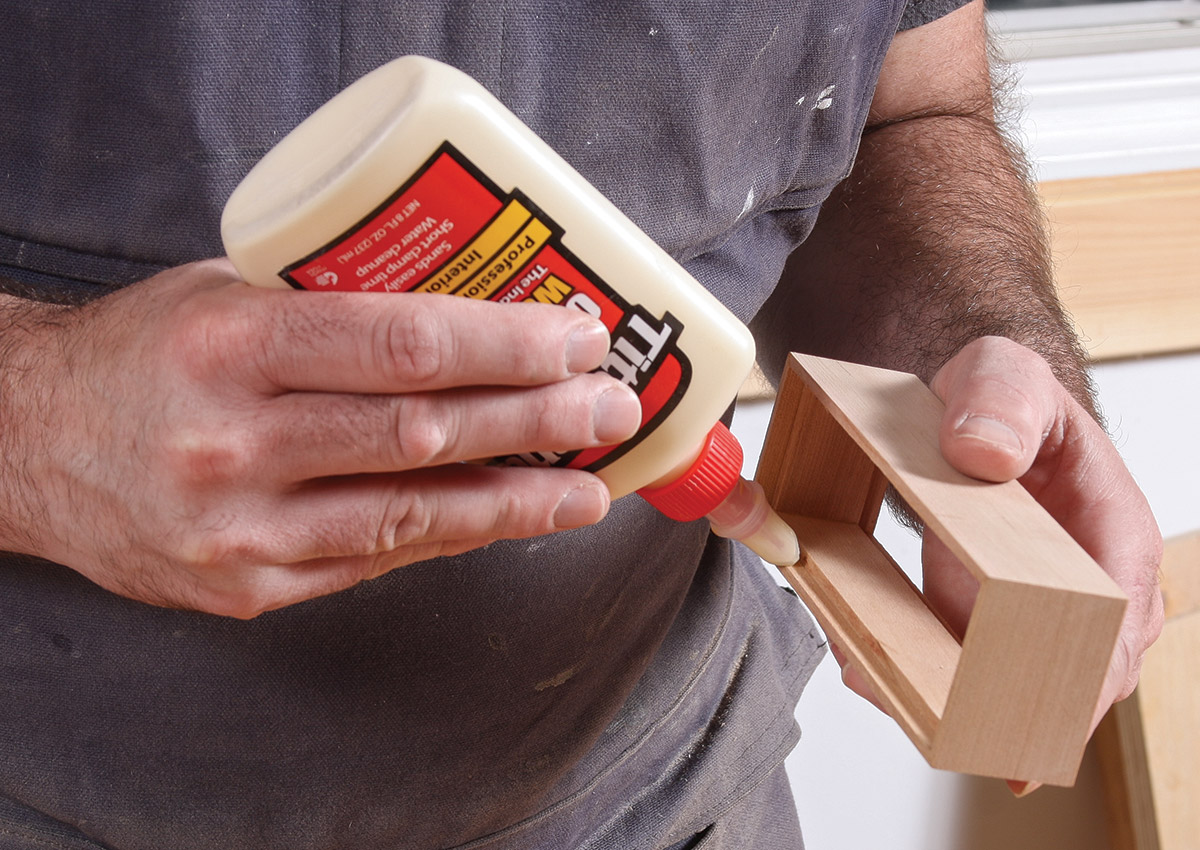
| 14. Apply a bead of glue to the rabbet in the box sides. | 15. Press the bottom into the rabbet. | 16. Using cauls to protect the edges, clamp the bottom to the box. |
The bottom is almost done, but the inside surface needs some attention. My favorite thing to do is to glue a piece of fabric to it, but you could paint it, too. (If you choose to paint the bottom, do so when you are painting the edges.) I love using fabric in my boxes, and I could spend hours in a quilt shop looking for new ideas. Wash your fabric and then iron it. Flip it over. Put the bottom, inside surface down, on the fabric. Trace around it with a thin-tip marker (I use a Sakura Pigma Micron 08 black pen). Using a pair of sharp scissors, cut out the fabric just inside the pen line. Spread some newspaper out on your bench and put the bottom on it, inside face up. Coat it with some spray adhesive, like 3M 77 (available at home centers and hardware stores). Move the bottom away from the overspray and then lay the fabric down. I start at one end, holding the other end up with my right hand and using my left index finger to press the fabric down, running along the bottom’s length. Be careful not to stretch it out. If you do, the fabric will overhang at the other end. Trim it back to the edge with your scissors.
Now pop the bottom in and turn the box over. Marvel at how clean it is. The line between the box sides and the fabric should be tight and beautiful—and much better than you get using a foam cushion covered in fabric. Glue in the bottom, using cauls to protect the bottom and top edge of the box. After the glue has dried, move on to the finish.
 Excerpted from Matt Kenney’s book, 52 Boxes in 52 Weeks.
Browse the Taunton Store for more books and plans for making boxes.


Log in or create an account to post a comment.
Sign up Log in