Create a continuous-grain apron and drawer
Mike Korsak demonstrates how to cut the apron and drawer front from the same board for perfect continuous grain.

The table’s entire front apron comes from a single board.

Sawing
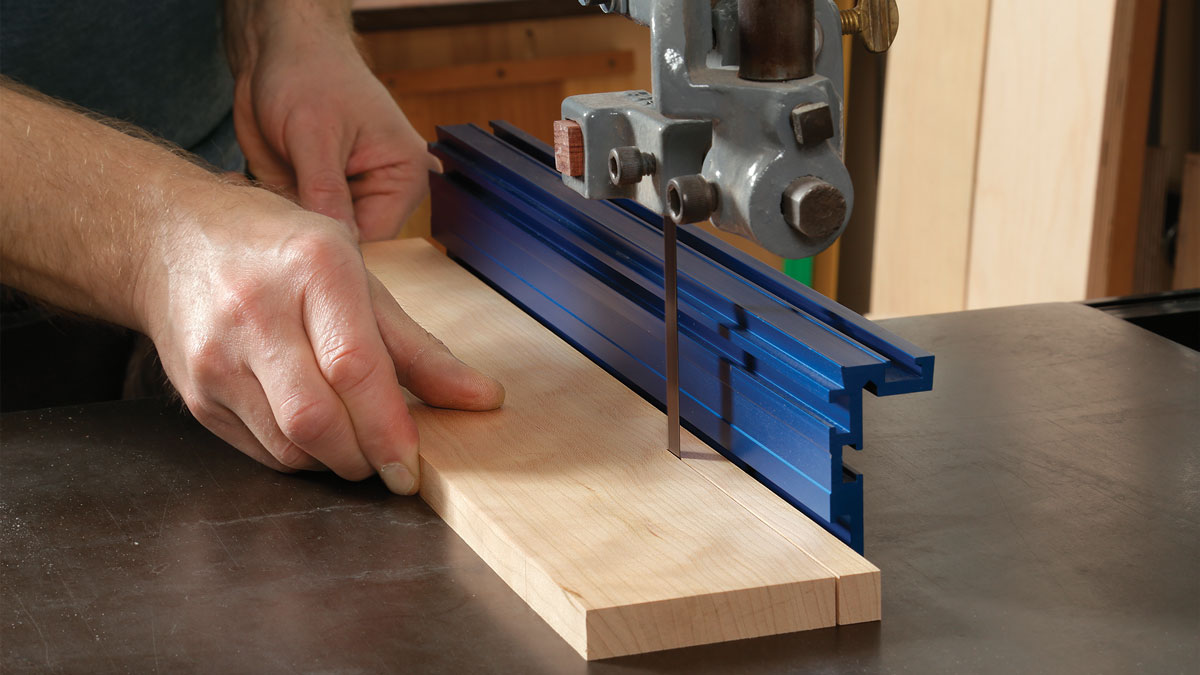 Bandsaw the first long apron strip. A bandsaw’s narrow kerf removes less material, which better maintains the continuity of the grain. The workpiece should be extra wide and long to account for the kerfs.
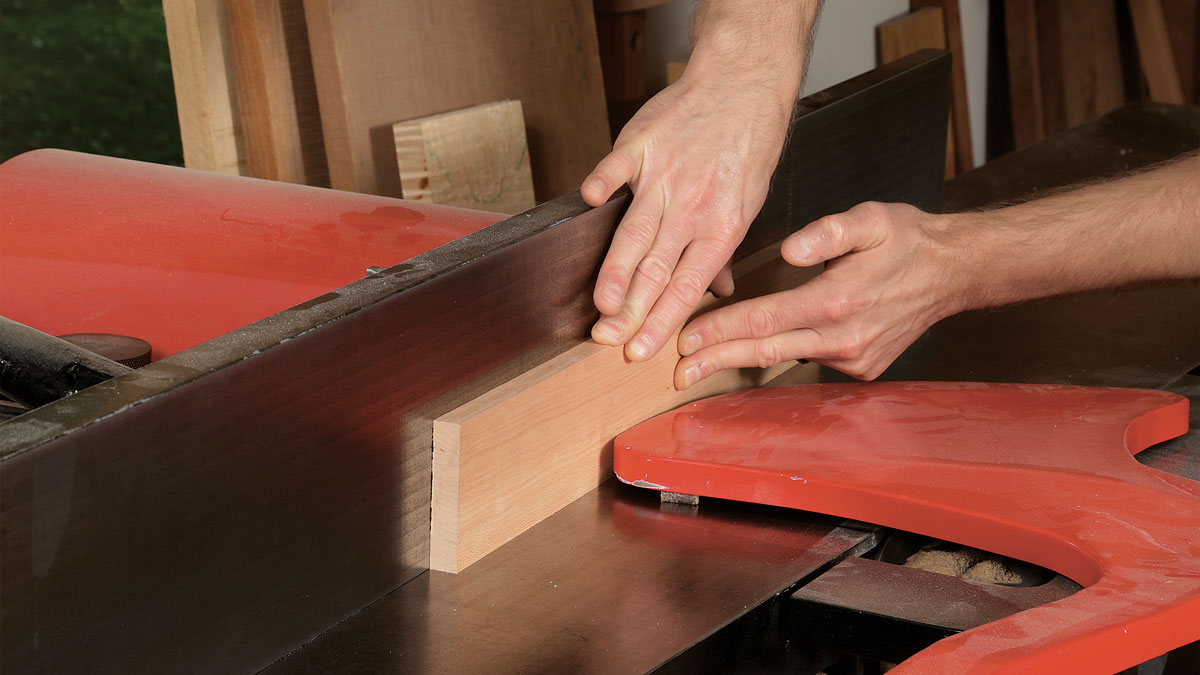
Joint the bandsawn edge. The piece is still wide enough to let you use a jointer. Take a very light pass to remove sawmarks and true up your reference edge.
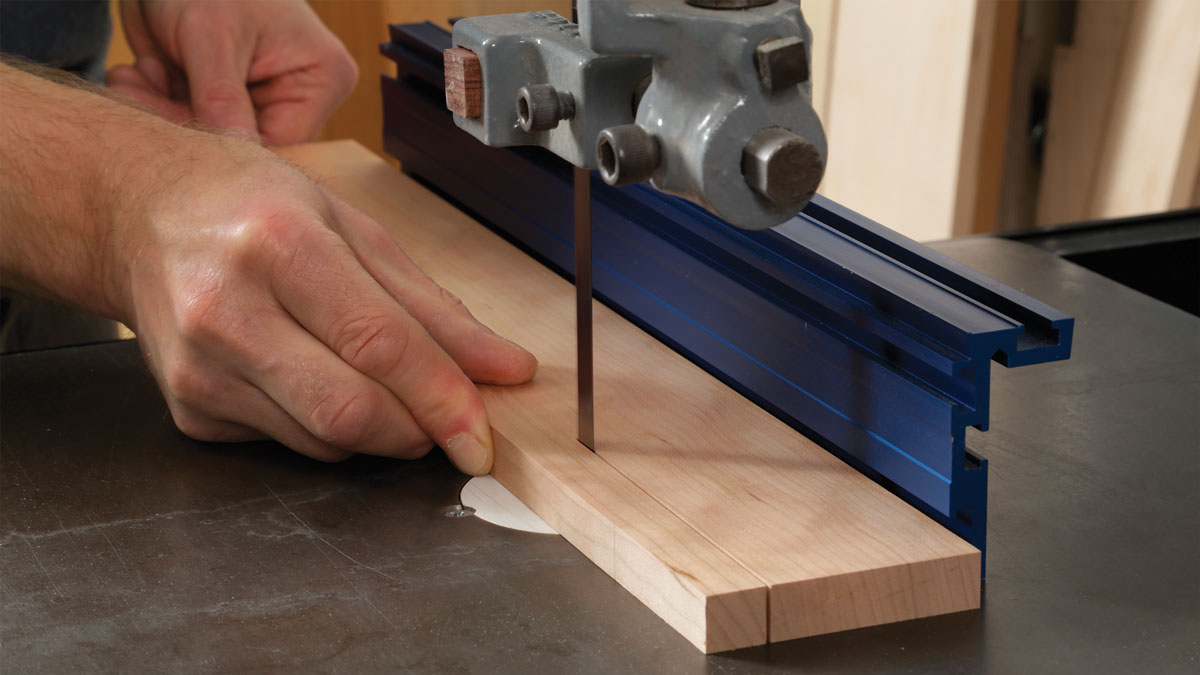
Second rip separates the middle from the second long apron strip. Keep the freshly jointed reference edge against the fence and use a steady feed rate to reduce sawmarks and cleanup.

Crosscut the middle apron strip into the drawer parts. Using a crosscut sled, Korsak separates the wide middle strip into the two drawer fronts, the narrow vertical divider between the drawer fronts, and the two pieces of apron flanking the drawers.
Gluing

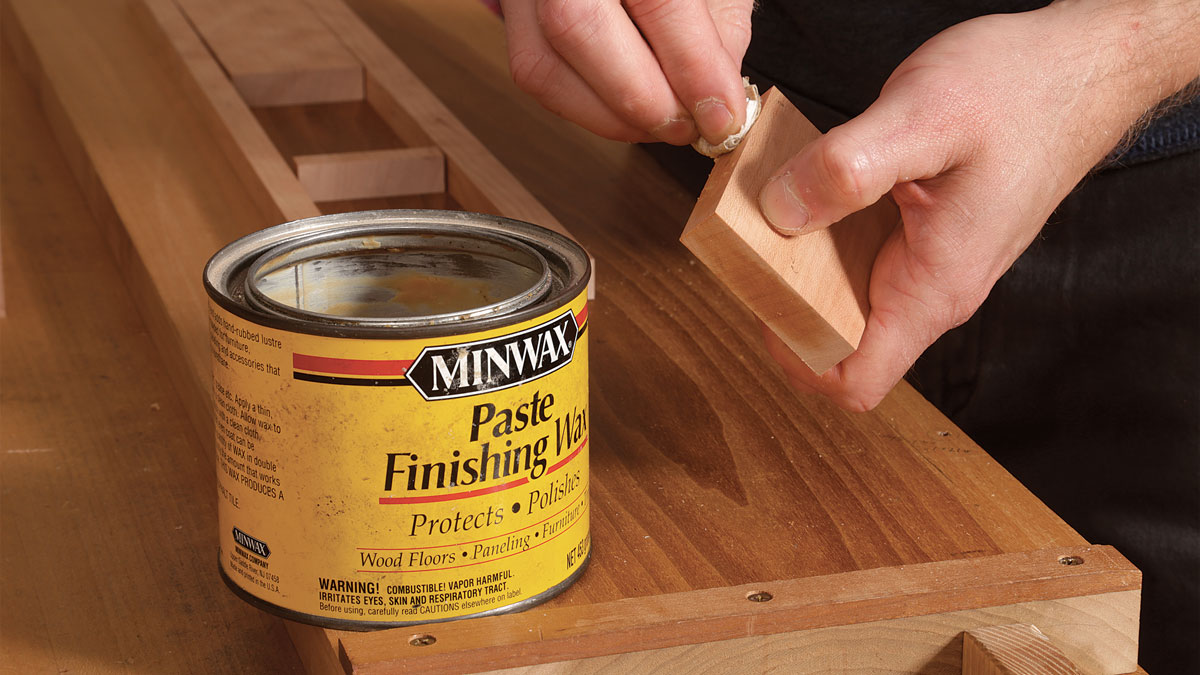
Use the drawer fronts as assembly spacers. Take five or six plane shavings from the same edge on each drawer front and wax around their perimeters. You’ll glue up the front apron with the drawer fronts in place, and you don’t want them interfering with the assembly or getting glued in.
 |
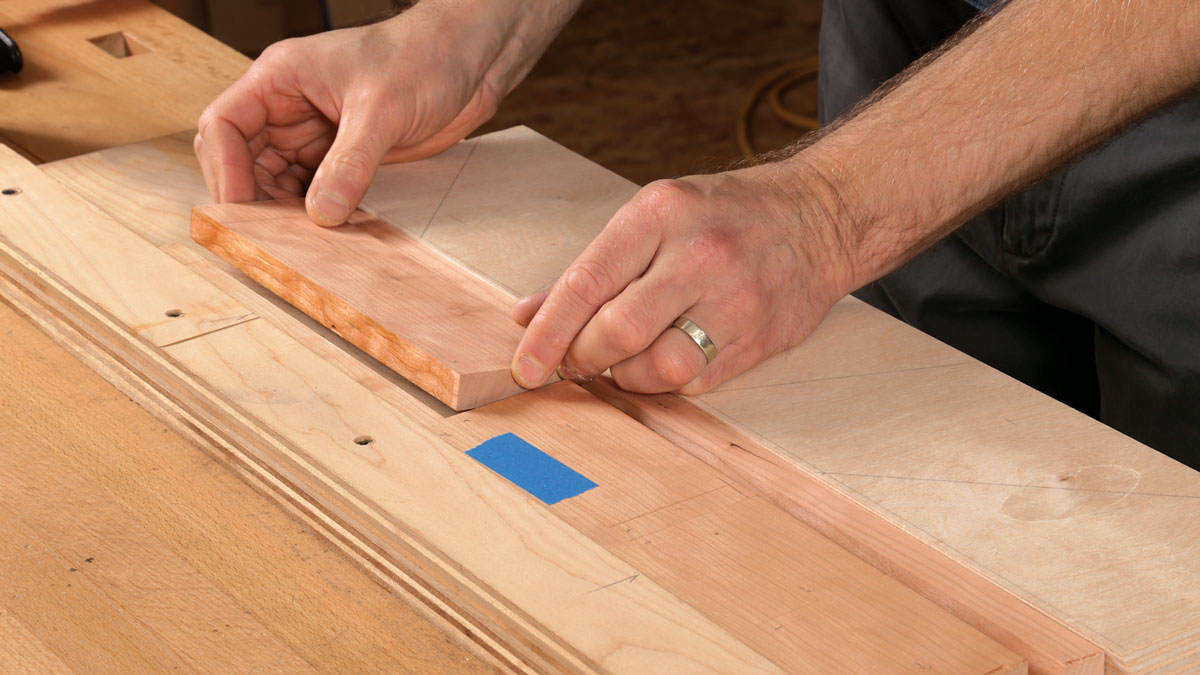 |
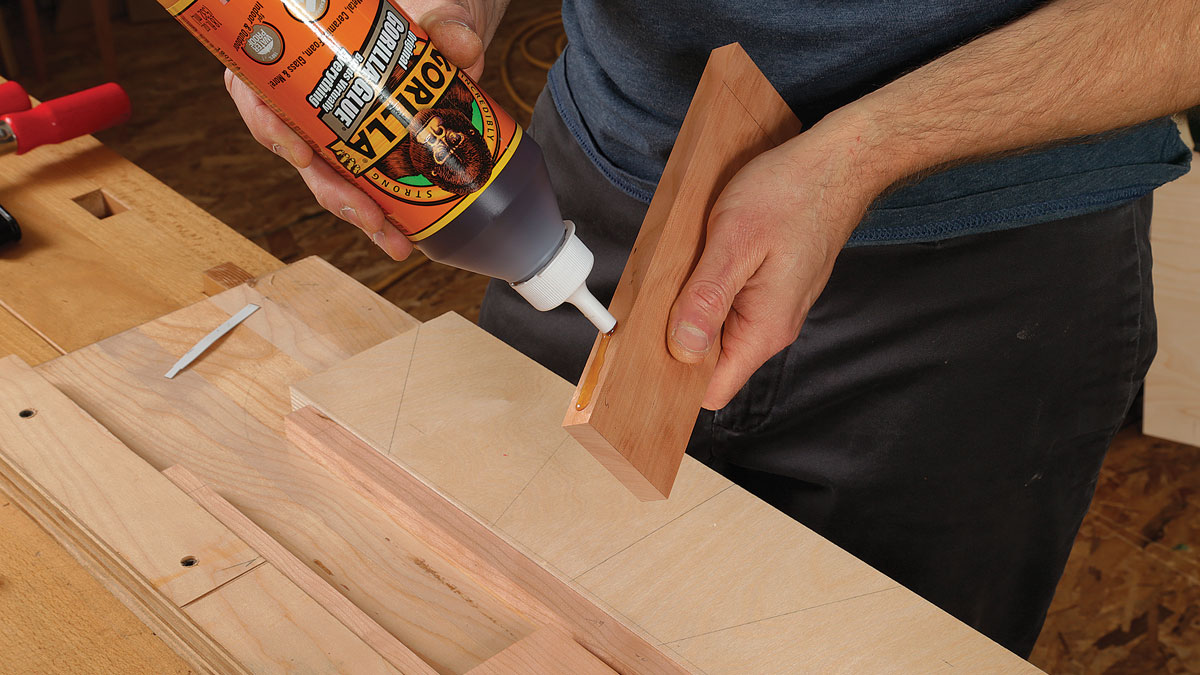
Glue up the front apron one part at a time. There are a lot of parts in play, so Korsak glues up the apron piece by piece instead of all at once. Blue tape keeps the unglued parts aligned and in place while the other parts get glued.
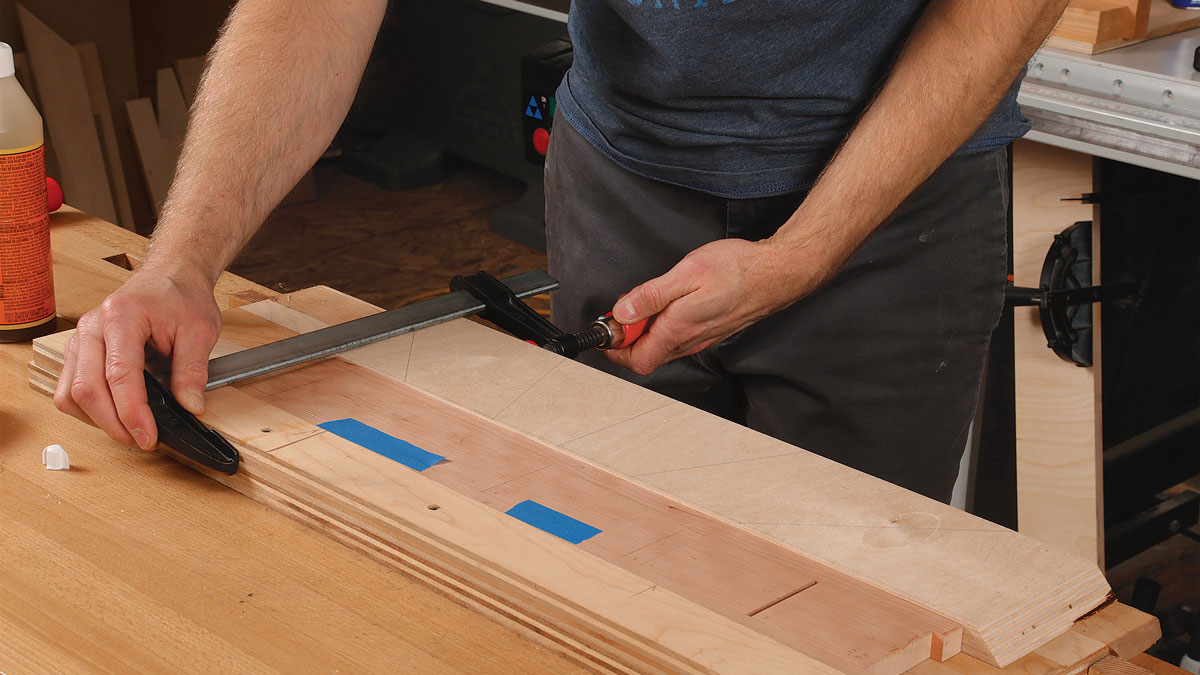
Wide plywood cauls even out clamping pressure. The top and bottom apron strips are long and narrow, so to help distribute clamping pressure across the whole assembly, Korsak uses wide cauls.
Mike Korsak is a furniture maker in Pittsburgh, Pa.
From Fine Woodworking #287










Log in or create an account to post a comment.
Sign up Log in