Ep 13: Assembly
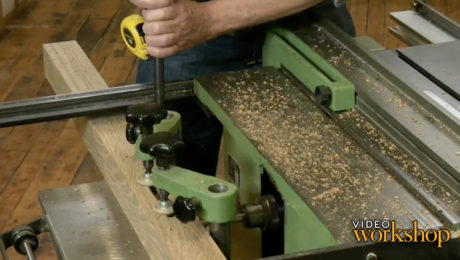
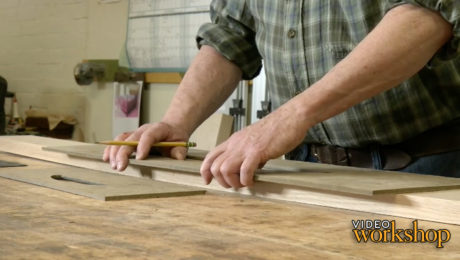
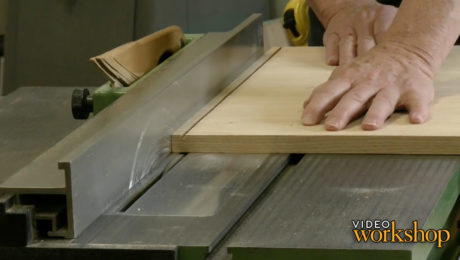
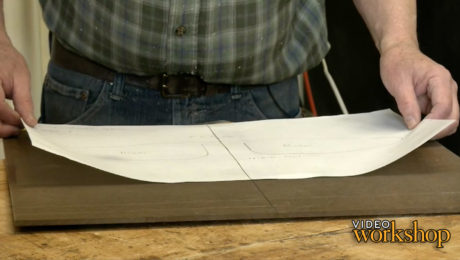
In the conclusion on this video workshop, Kevin puts on a show tackling a very difficult glue-up solo, and finishing it all of by assembling the bed with specialty bed hardware.
Start your 14-day FREE trial to watch this video
Plus, access more than 500 video workshop episodes when you become a member
Videos in the Series
-
Ep 1: Introduction to Kevin Rodel’s Arts and Crafts Bed
June 29, 2017
-
Ep 2: Shaping the bed posts
June 29, 2017
-
Ep 3: Headboard & Footboard Rails
July 6, 2017
-
Ep 4: Pierced Cutouts and Carved Relief
July 13, 2017
-
Ep 5: Bed Panels & Rails
July 20, 2017
-
Ep 6: Inlay Prep — Creating the Banding and Templates
July 27, 2017
-
Ep 7: Routing the Channels
August 3, 2017
-
Ep 8: Curved Inlay
August 10, 2017
-
Ep 9: Completing the Stringing
August 16, 2017
-
Ep 10: Inlaid Spades
August 24, 2017
-
Ep 11: Inlaid Hearts
August 31, 2017
-
Ep 12: Pewter Inserts
September 7, 2017
-
Ep 13: Assembly
September 14, 2017












Comments
Thank you for this lovely piece of Arts and Crafts workmanship. Much appreciated.
Kevin - great video - learned a lot!!
Thanks Kevin! You're a great teacher and I hope to see more of your craftsmanship in the future!
Outstanding video series. Mr Rodel is an excellent teacher. I thoroughly enjoyed and learned from these videos. I hope to try to build my own in the near future.
Thank you for your time Kevin!!! Really well done.
Thanks, Kevin, great series as always!
A huge thank you for this video workshop you shared with us. I most certainly had a good time and now I will watch it all over again more deeply to decide if I want to build this bed. FWW has many great craftsman and instructors but you have a rare and wonderful spirit that shines through and a true love of the craft. I wish I will get the chance to study with you in person. I learned the craft from my grandfather from the age of 8 till 25 when he passed away. I miss him every day, and you remind me of him a lot. thank you again.
Outstanding. Thank You
Kevin thanks for a great video!!!. Ditto to everyone's comments.
Absolutely great. Thank you.
What a great video, I enjoyed watching and learning from it. Thank you. I have read your articles in FWW and hope to see more in the future.
Thank you for the great video! One question - I noted that you glued the full length of the wide panel in the footboard, how wide can we expect to go with cross grain panels before we have to worry about splits due to seasonal changes?
That's a fantastic question and I had to confer with Mike Pekovich to get you a full answer. In this case, there are a few variables making this acceptable. First and foremost, it is quartersawn stock which is going to move very little compared to flatsawn stock. Secondly, Kevin used yellow glue, which is more likely to have a little flex to it.
VERY GOOD INSTRUCTION. VERY CLEAR AND CONCISE.
Thank you Kevin. Well done, clear, concise, and dead-on techniques for the intermediate to experienced furniture craftsman. Your patience with inlays was impressive.
Thank you Kevin and FWW, extremely inspirational. Just got added to my bucket list on "things to build" in my retirement.
Kevin - A+ tutorial on wood craftsmanship and artistry. Keep them coming, seriously!
Thank you Kevin, good learning experience for me from a very good teacher. You can bet I will be looking for more instruction from you.
Great video series and I loved the reference to Woody Allen's Bananas. Fun!
Thank you. This was a great learning experience
Thank you Kevin, always a pleasure and learning experience when watching your videos. We are proud to have you as a neighbor.
Beautiful craftsmanship coupled with outstanding instruction. This series alone is worth the annual membership fee.
I truly enjoyed this video and learned many things. What do you fill the drilled holes on the footboard with?
Great set of videos. I wonder what happened to the blade(s) that scraped the side of the fence. The white oak is a great choice for the bed frame. If I attempt tackling this project, I think I'll use walnut, purple heart, or some other dark wood for the strings. Even an acrylic could be used.
This has been an excellent series, Kevin. Thanks for sharing your experience. I’ve learnt a few things here.
I would have loved to have seen how you go about the fuming and finishing.
Log in or become a member to post a comment.
Sign up Log in