Ep 8: Curved Inlay
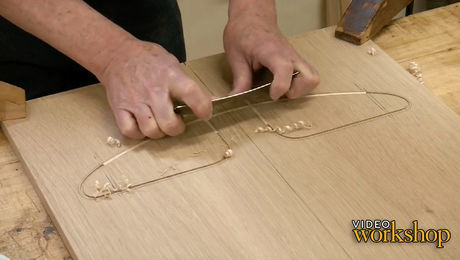
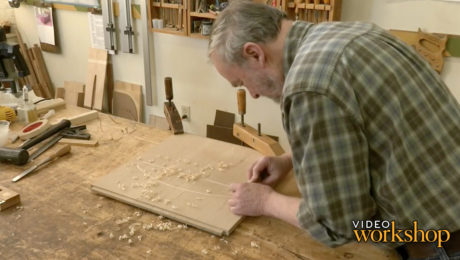
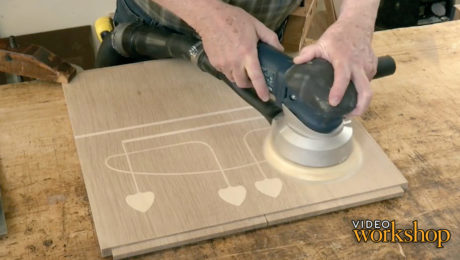
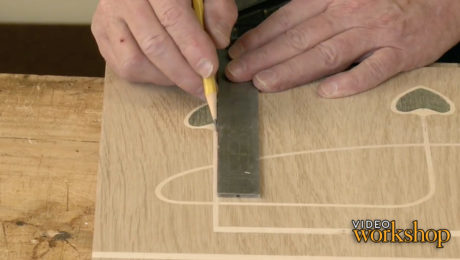
In this episode, Kevin inlays the curved banding and finishes off the straight sections of the main panel
 By Kevin Rodel
Aug 10, 2017
Start your 14-day FREE trial to watch this video
Plus, access more than 500 video workshop episodes when you become a member
Start Your Free Trial
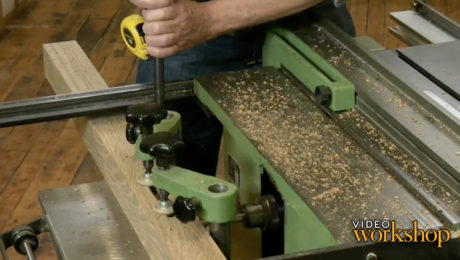
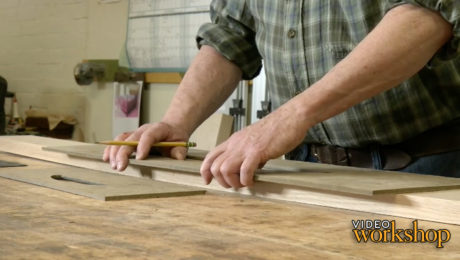
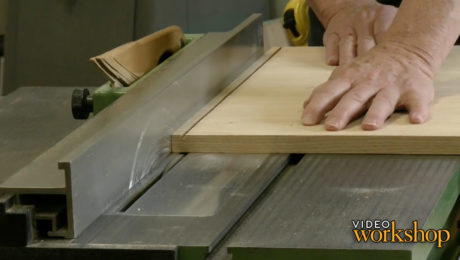
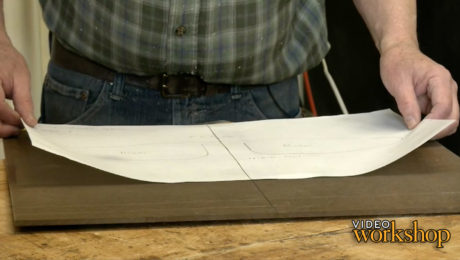
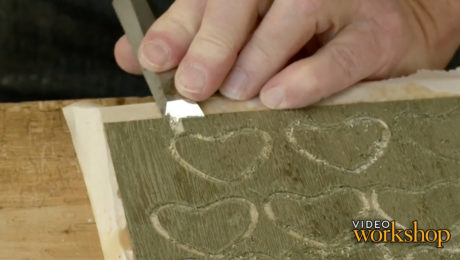
In this video, Kevin Rodel will show how to size and install curved inlay parts on his Arts and Crafts bed project. The parts were made and the slots cut in a previous video.
Get woodworking tips, expert advice and special offers in your inbox
×
Videos in the Series
-
June 29, 2017
Designed after a four-post bed by Gustav Stickley, this queen-size version features a Glasgow-style inlay and can be adapted to suit any mattress height. The construction is mortise-and-tenon, the posts…
-
June 29, 2017
After cutting the mortises on a hollow-chisel mortiser, Kevin shapes the posts of this bed using a bandsaw, sander, and block plane
-
July 6, 2017
In this episode, Kevin makes the template he’ll use to curve the top rails, cuts mortises in the rails, puts tenons on the end, and finally adds the curves using the bandsaw and router
-
July 13, 2017
Kevin uses a jigsaw, router and templates to make the cutout and relieved areas of the headboard. Then he adds a beautiful carved texture to the relieved area using a gouge.
-
July 20, 2017
In this episode, Kevin adds the tenons to the bed panels and side rails using the tablesaw and bandsaw
-
July 27, 2017
In this episode, Kevin gets started on the inlay by making banding out of maple, and most importantly, creating the templates that will be used throughout the inlay process
-
August 3, 2017
Armed with the perfect templates, Kevin starts routing the inlay channels on the complex headboard inlay
-
August 10, 2017
In this episode, Kevin inlays the curved banding and finishes off the straight sections of the main panel
-
August 16, 2017
Kevin completes the stringing by adding the vertical stems and the 1/4-in horizontal base
-
August 24, 2017
In this episode, Kevin starts the process of the spade and heart inlay by creating a veneer "sandwich", cutting out the spade inserts, and finally creating the pocket to receive the inserts.
-
August 31, 2017
In this episode, Kevin starts the continues the inlay cutting out the heart inserts.
-
September 7, 2017
In this episode, Kevin finishes off the inlay by adding the pewter inserts, scraping and sanding them just like wood
-
September 14, 2017
In the conclusion on this video workshop, Kevin puts on a show tackling a very difficult glue-up solo, and finishing it all of by assembling the bed with specialty bed hardware.














Comments
kevin where in the series do you cover the curve laminate pieces?
thanks
michael
The bent lamination is at the end of episode 6.
The link for episode 9 does not seem to be working
Echo what MatiasWoodworking said, Ep. 9 link isn't working. This seems to happen frequently.
Log in or become a member to post a comment.
Sign up Log in