How to Make Dovetailed Drawer Partitions: Dovetail Second
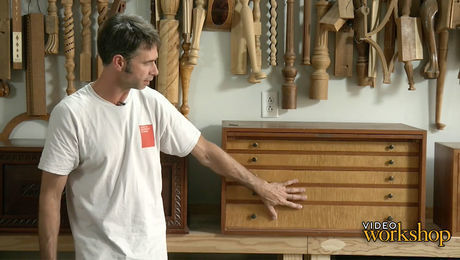
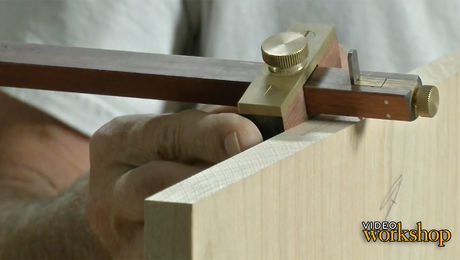
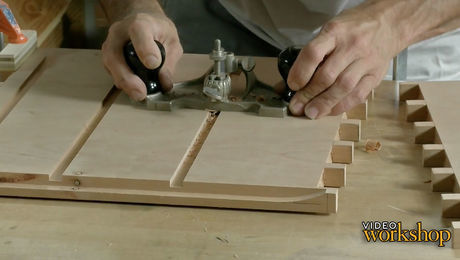
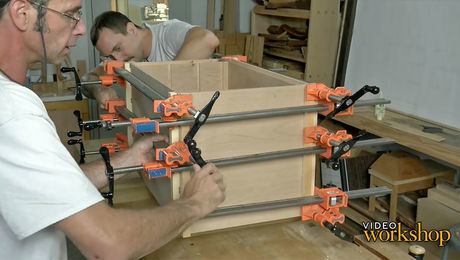
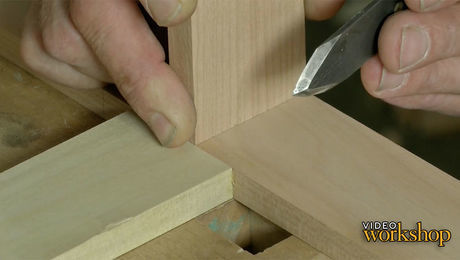
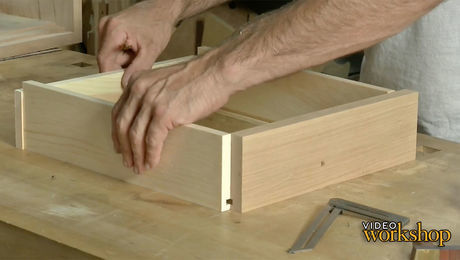
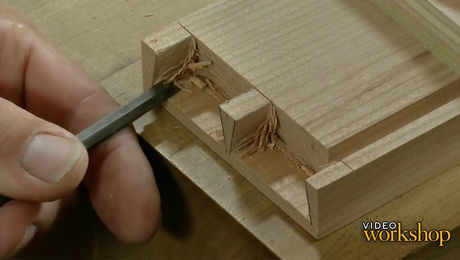
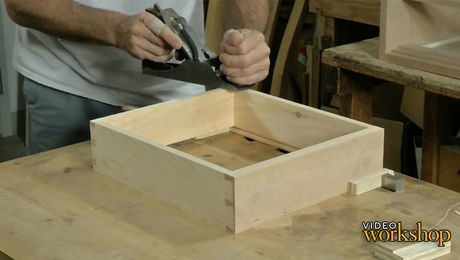
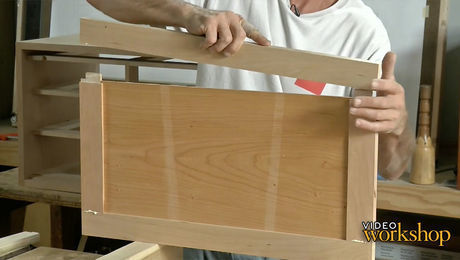
Learn how to cut, fit, and glue up the dovetail joint for the drawer partitions.
Start your 14-day FREE trial to watch this video
Plus, access more than 500 video workshop episodes when you become a member
Videos in the Series
-
All About the North Bennet Street Toolbox
January 24, 2017
-
The History of the North Bennet Street Toolbox
January 24, 2017
-
Easy Way to Glue up Panels
January 24, 2017
-
Dovetailed Toolbox Case Needs Careful Layout
January 31, 2017
-
Hand-Cut Dovetails: Pins First
February 7, 2017
-
Hand-Cut Dovetails: Tails Second
February 14, 2017
-
Finessing the Fit of Case Dovetails
February 14, 2017
-
Cutting Joinery for the Toolbox Case
February 21, 2017
-
Gluing Up a Toolbox Case
February 28, 2017
-
Making Dividers for the Toobox
March 7, 2017
-
How to Attach Dividers to the Case
March 14, 2017
-
How to Make Dovetailed Drawer Partitions: Dado First
March 14, 2017
-
How to Make Dovetailed Drawer Partitions: Dovetail Second
March 14, 2017
-
Laying Out Dovetail Joinery for the Drawers
March 21, 2017
-
Cutting Half-Blind Dovetails for Drawers
March 28, 2017
-
How to Fit Drawers
April 4, 2017
-
Cutting Joinery for a Frame-and-Panel Door
April 11, 2017
-
Make a Raised Panel for a Door
April 11, 2017
-
How to Assemble a Raised-Panel Door
April 11, 2017
-
How to Hang the Door and Add a Lockset
April 18, 2017
-
How to Make a Shiplapped Back Panel
April 25, 2017












Comments
Great series. A lot of good techniques demonstrated. Matt is an excellent teacher. Very clear in his explanations. I'm really enjoying this and can't wait for the next installment.
I've been a FW reader for decades and this among the best series I've ever seen. I've lost count of the number of things I've learned from this project but what really stands out is Matt's great teaching style and an attention to detail that really makes a difference! The simple advice of even just "chasing the smudge" is spot on. Thanks.
I agree with Tim and Greg. Matt is a great teacher!
That was suspenseful. Is there another way to ensure the web frames are plumb with bottom fillet edge? It seems that gauge block could be slightly out of plumb but still appear aligned on all three edges. Thanks for the length of video in this series. I hope they are all like that. It will make the wait for the next series more bearable.
Since Matt aligns the top web frame with the back of the rabbet at the bottom of the door frame, those two should be in plane. Consequently he only needs to adjust the third frame in the middle and if that block is straight, that should clinch the process.
I agree fully with the other comments. Wow! I am following this along while doing a larger cabinet build with quite a few sliding dovetails ... as I know now after watching this: there is a lot to learn and do better the next time around. Very inspiring!
I can't say enough about this series and Matts no-nonsense... no small talk... on target teaching.
Question: I am wondering (and have wondered before)... is the short sliding dovetail for appearance only? I ask because I have to think that there is very little mechanical value to it?? In addition, I think sometimes the sliding dovetails are full... and I wonder when should it be full...and when is like this?
The dovetail is really there to keep the pieces from bowing away from each other, well, and they look awesome. Is it overkill? Maybe, but if the divider is just dadoed in there is no mechanical backup should the glue fail.
good series!! why were the web frames not cut so that they seated into the dado exactly without all the bashing back and forth?
Great series! Are you going to put it all on a DVD that we can buy?
No plans for a DVD right now. Sorry
I had the same issue clamping the divider as Matt did. Here is my solution.
https://www.pinterest.com/pin/406872147577213403/ and https://i.pinimg.com/originals/33/63/d5/3363d57cab9ae853086381896600fddf.jpg
That's a great solution! Nicely done!
I am just a beginner but Matt's teaching style inspires me to do more. I will need to start with smaller projects to employ the teaching pearls that he has imparted. I am also sure that mistakes are ahead, but these will fewer with the instruction he has provided. Thank you to Matt and the North Bennet Street School for this video series.
It's almost worth being so sick with a head cold all I can do is lie back and watch wood porn. I have watched some of the mighty spin their magic today. But Matt Wajda is in a class all his own, so clear about his thinking, his process, his physical movements. He really is a consummate teacher. And I suspect much the same can be said of the director/videographer who captured the magic. There's a certain selflessness that comes through on both their parts. I look forward to more of Matt Wajda. I'll watch him even without the cold.
I know this video series has been up for awhile, but I'm seeing it for the first time and my mind is blown with how much I have learned from Matt about various woodworking techniques as he builds this tool chest. His marking and layout skills are amazing and while seemingly trivial, this is precisely what leads to his perfect fitting joints. The patience and care he demonstrates as he marks out then those dovetails and dados is truly inspiring. The process of dry fitting of the dovetails had me on the edge of the seat--as if I were watching a Stephen King thriller on the TV--just knowing a pin was going to break! And the glue up? I could feel the tension. This is just flat out one of the best tutorials of any subject I've seen on the internet...and of course it just blows away the many popular YouTuber woodworking videos. Wow. Thank you so much FineWoodworking staff for producing and providing this series.
Log in or become a member to post a comment.
Sign up Log in