Make a wooden pull plane
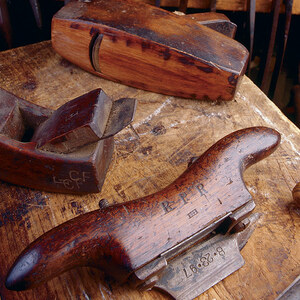
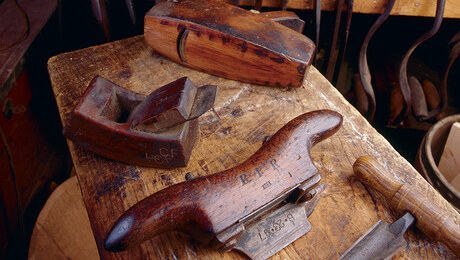
Vic Tesolin's wooden pull plane is not a Japanese plane, but his own version that cuts on the pull stroke instead of pushing like a standard western plane.

Synopsis: Vic Tesolin’s wooden pull plane is not a Japanese plane, but his own version that cuts on the pull stroke instead of pushing like a standard western plane. Constructed of two core pieces and two cheeks, with a wedge that holds the blade secure, it takes about a day to make.
A couple of years ago, I was exposed to Japanese plane making. A friend let me try some of his planes and I fell in love with them. They feel nimbler in my hands, and I feel like I have more control over what I’m doing on the pull stroke. But after a few failed attempts at trying to make a Japanese plane, I realized it was not an easy task. They don’t have any flat surfaces and the blades are tapered in two directions.
I truly enjoy pulling planes, so I set out to…
Start your 14-day FREE trial to continue reading this story.
Plus, access more than 1,900 in-depth articles and more when you become a member.
Start Your Free Trial NowAlready a member? Log In








Comments
The Krenov method of wooden plane-making was invented partly to avoid the necessity to make "pockets" on the inside of the mouth to hold and guide the blade-retaining wedge. A crossbar is used instead.
The crossbar is easier to make and install correctly, especially for a first-time maker. Wear, compression and distortion in the wooden wedge are far less likely to become a problem with a crossbar than they are with pockets inside the cheeks, which have to fit the wedge exactly. Wear of the crossbar is also a non-issue whereas wear to the pockets in the cheeks will soon adversely affect the ability to place and retain the blade.
Why has ole Vic done the pocket thing then? Because he could, perhaps. :-)
Lataxe
I like wooden planes and think this one should be relatively straightforward to build -- but I have not built a copy, yet.
I am concerned about the bedding angle of 37 degrees. Combined with a standard bevel angle of 30 degrees on the bevel-up blade, this implies a high cutting angle of 67 degrees. If we flip the blade bevel down, there is only 7 degrees clearance under the bevel. Neither seems ideal.
At bedding angles below 45 degrees, the majority of the force on the blade pushes the blade back, out of of the plane body. Without an adjuster backstopping the blade, those forces may make it harder to maintain the blade setting. One solution to this is to use a tapered blade, which wedges itself in place harder as the blade gets pushed back by the cutting forces:
https://www.leevalley.com/en-us/shop/tools/hand-tools/planes/blades/71259-veritas-tapered-plane-blades
Alternatively, a relatively easy modification would be to raise the bedding angle to 45 degrees or more. At those angles, you can use the blade bevel down. At bedding angles of 55 degrees or more, you can also reverse the blade to the bevel up position for a scraping cut.
If I had built or described this plane, I might have easily confused some angles. Setting a 37 degree angle on a bevel gauge and then measuring "naturally" from the vertical implies a bedding angle measured from the horizontal of 90 - 37 = 53 degrees. That would seem well within the standard range of bedding angles for bevel-down blades.
Thank you,
Ludger
Log in or become a member to post a comment.
Sign up Log in