How to: Precise Bandsawn Dovetails
Four simple jigs create beautiful joints quickly

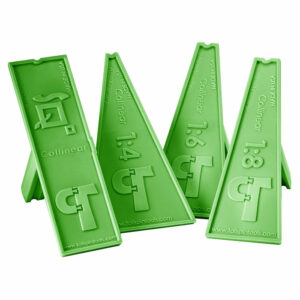
Synopsis: Cutting dovetails on the bandsaw is a fast and efficient method that yields perfect-fitting joints. Michael Fortune uses four small sleds for the job. These jigs allow him to control the angle of the tails and the cheeks of the pins. The angled jigs present the tail and pin boards to the blade and a zero-clearance kerf in each jig makes it easy to locate cuts accurately. Fortune cuts all the tail boards at once, so he only lays out the tails on the top board. The pin boards are cut separately.
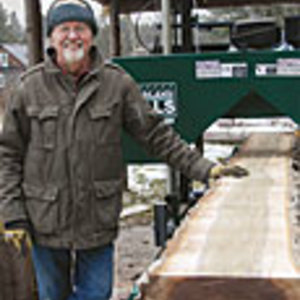
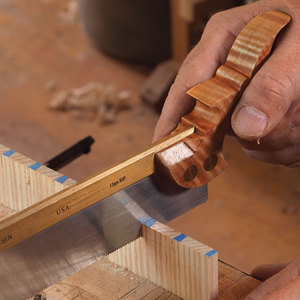
There must be dozens of ways to cut dovetails, but my favorite is to cut both the tails and the pins with my bandsaw. It’s easy to control the angle of both parts and, because the bandsaw blade is as thin as many backsaw blades, there are few limitations to the tail’s slope angle, the size of…
Start your 14-day FREE trial to continue reading this story.
Plus, access more than 1,900 in-depth articles and more when you become a member.
Start Your Free Trial NowAlready a member? Log In







Comments
This seems like a very clever method, but is there any reason to build 4 jigs instead of 3? It seems like one tail jig would suffice if you flipped the boards over to get the second angle. Am I missing something - I assume I am since Fortune is so clever that if it works he must have thought of it? (I haven't tried it this way although I have 2 primitive jigs I use on the BS for my favorite way of cutting dovetails).
Great article. Michael Fortune has a wealth of knowledge and experience and I’ve learned a lot from his past articles. Since dovetailing is intimidating I can now see myself doing more projects with dovetails.
Once again my subscription pays off.
I built these jigs but was surprised to realize when I went to try them that my saw (Laguna 14BX) will only tilt <8 degrees one way, so to get my desired tilt I had to build the tilt into the jig instead. This means more places errors could compound building the jig, and a bigger jig to store, but adds the virtue that the table can stay 90 degrees to the blade.
To Unknotted:
I also have the Laguna 14BX and thought I had the same problem until I discovered that the Tilt Stop Bolt rests on what is called the Tilt Blanking Disc. It can be rotated out of the way allowing the Tilt Stop Bolt to pass through the Table Tilt Hole. Page 21 in the instructions. It also it tilts a max of -7 but I got -8!
I built the jigs to use on my 18" Jet. Because the angle of the tails and the pins is the same bench work is reduced. The jigs allowed me to cut my best dovetails yet.
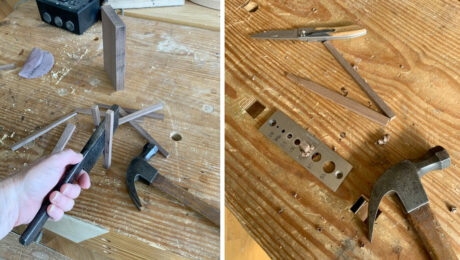
So I think this set of jigs is pretty clever. I built all 4 of them. I did run into one problem. Michael specifies a 1:8 slope for his tails and pins (I think for a reason). I, however, wanted a 1:6 slope. The 2 tailboards were no problem making because the table remains at 0 degrees. While making the pinboards I ran into a problem when I needed to make the last angled cut through the baseboard fence. One of the pinboards when using this 1:6 slope requires a tilt of +12 degrees on the bandsaw table. This was easily accommodated on my bandsaw. The last pinboard, however, requires a tilt in the table of -12 degrees, My bandsaw table unfortunately only tilts to -10 degrees. So in order to make the final -12 degree cut, I had to alter the angle of the plywood base to achieve the -12 degree cut. I did this by adding a lift to one end of the base (see attached picture). It wasn't a big deal to alter the last jig but some might unknowingly run into this problem if they change the slope of their tails and pins so wanted to share with others.
Log in or become a member to post a comment.
Sign up Log in