Making Wedges for Through-Tenons
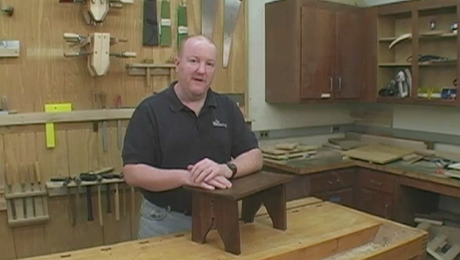
Wedges add strength and style to through-tenon joinery. In this project video on making a step stool, learn some tips and tricks for cutting the wedges and the slots for them.
Preparing for Wedges
Once you complete the step-stool sides, it’s time to work on the stretcher. Dry assemble the sides and the top and check for square. Use the assembled step stool to get the exact stretcher length. Then cut the stretcher to final dimension.
Tenon the stretcher
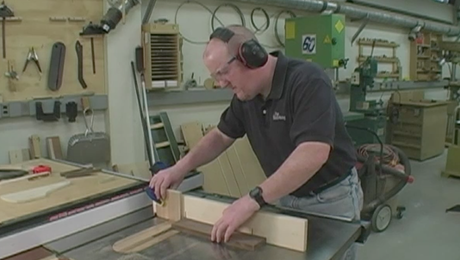
Lay out the tenons on the stretcher and cut them out using a dado head at the tablesaw. Once the tenons are cut, refine the fit with a shoulder plane and chisels.
A simple wedge-cutting jig
Next, prepare the wedges. Cut them using a bandsaw and wedge-cutting jig. The jig is straightforward to make and assures perfectly sized wedges. It uses a 1/2 in. plywood base, a small handle, and a fence. Cut a notch into the fence using a 3/16-in. rise and a 2-in. run.
Once the jig is complete, it’s time to start cutting the wedges. Use a thin piece of plywood as an auxiliary table to keep the small pieces from falling through the bandsaw’s throat plate. Attach the auxiliary table with double-sided tape.
Using the jig, cut the wedges out of hard maple. Cut them across the grain to avoid splitting and make a few extra just in case. Use a push stick as needed to keep your fingers away from the bandsaw blade.
Slot cutting
Next, lay out slots in the tenons for the wedges. Then cut the slots with a handsaw or using the bandsaw. Drill a hole at the bottom of the slot to avoid splitting as you drive the wedges home.
Angle the mortise walls
The final step in prepping the joints before glue up is to angle the mortise walls. This will help you achieve maximum strength. As you drive the wedge in place, the angled mortise walls will help you to lock the tenon in place.
Once all the joinery is cut, it’s time to complete the step stool. In the next episode, McKenna will show you how to glue-up the piece, insert the wedges, and then trim them flush. He’ll also share a foolproof wipe-on finish recipe.
Video by: Gina Eide; Editing by: Michael Dobsevage
Videos in the Series
-
Building a Small Step Stool
March 20, 2020
-
How to Mill Lumber and Cut Through-Mortises
March 20, 2020
-
Pattern-Routing Basics
March 20, 2020
-
How to Cut Double Tenons
March 20, 2020
-
Making Wedges for Through-Tenons
March 20, 2020
-
How to Glue up Wedged Through-Tenons
March 20, 2020


Comments
Wonderful project. Having become proficient in the use of both power tools and hand tools over my career as a furniture maker its great your instruction included the use of both. So many beginners are either wedded to power tools or hand tools at the expense of the other. Introducing the use of both can expend ones creative endeavors. Thank you.
Log in or create an account to post a comment.
Sign up Log in