How To Sharpen and Use a Drawknife
A brilliantly simple shaping tool that’s versatile, fast, and a pleasure to use

Synopsis: Shaping long, flat surfaces, concave cuts, face grain, end grain—it’s all easier with a well-sharpened drawknife. Windsor chair master Curtis Buchanan gives a tutorial on this valuable hand tool, from the different types of drawknives, to sharpening, to whether you need a bevel-up or bevel-down version. He also demonstrates how to hold the tool and how to use it to make complex shapes, smooth surfaces, facets, scooped surfaces, and more.
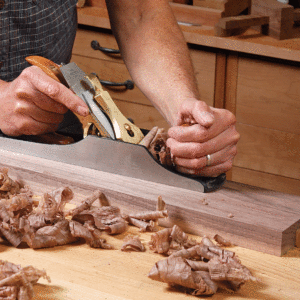
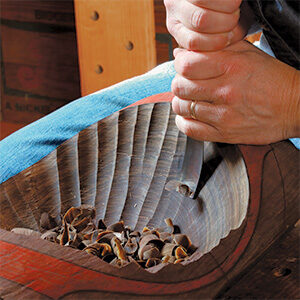
Drawknives are astonishingly versatile tools, capable of removing a huge amount of wood in a hurry, or finessing fine surfaces. They’re equally good at creating flat planes and complex curves. Used with the bevel up, a drawknife works well for creating long, flat surfaces. Used with the bevel down, it will make all sorts of concave cuts—from slight to severe. While cutting face grain, a drawknife allows you to cut between the growth rings to create stock…
Start your 14-day FREE trial to continue reading this story.
Plus, access more than 1,900 in-depth articles and more when you become a member.
Start Your Free Trial NowAlready a member? Log In






Comments
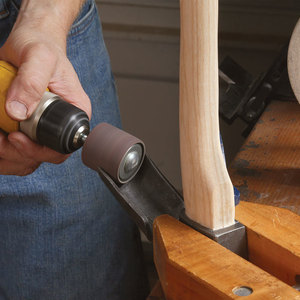
I found the article a bit confusing in regards to terminology. In two of the photos, he refers to "back of the knife" then the next says "back of the blade". In one he says to hollow grind it then in the other he says to flatten it. I'm confused. Wouldn't hollow grinding the back take a long long long time? Also there needs to be a drawing. The photos are too far away. Especially when it says to use a wood scrap to bevel the edge. I can't see what he is exactly doing there. The bevel looks to be away from the wheel.
Log in or become a member to post a comment.
Sign up Log in