Six Steps to a Perfect Inlay
A little glue, a sharp knife and a minirouter make inlaying easy

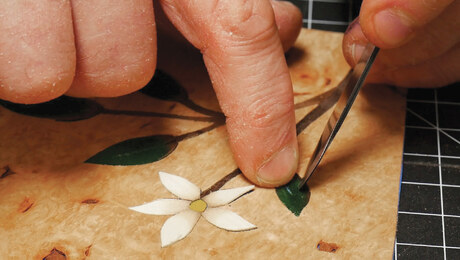
Synopsis: Roland Johnson explains a process he developed to add inlay to a tabletop. In this short article, he leads readers through the six steps to completing the job. First, position the inlay on the workpiece with office-supply rubber cement, scribe the area, and then rout and chisel away the waste. Read all the details, then try them out on your next project.
Several years ago I was commissioned to restore an antique pool table with rosewood rails inlaid with ivory. The high quality of the original craftsmanship demanded that the repairs be of a similar level, a fact underlined by the $30,000 value of the table. After trying several methods I finally hit on a process that makes perfect inlays every time, whether for pool tables or Federal tables.
Start by gluing the premade inlay to the tabletop using rubber cement, the kind found in office-supply stores and hobby shops.…
Start your 14-day FREE trial to continue reading this story.
Plus, access more than 1,900 in-depth articles and more when you become a member.
Start Your Free Trial NowAlready a member? Log In







Log in or become a member to post a comment.
Sign up Log in