The art of marquetry
Learn the double-bevel technique from a master of the medium.

Synopsis: The incredible marquetry designs of Craig Stevens may seem out of reach, but the way he explains the double-bevel technique makes it seem completely doable. This process ensures a perfect-fitting marquetry design. Basically, you tape the background veneer and the insert veneer together, and cut them both at once on an angled surface. That’s the simple part. It’s Craig’s artistry that sends it soaring.
Years ago, when I had the good fortune to study under James Krenov, the decorative art of marquetry caught my imagination. Marquetry linked my longstanding interests in drawing and art with the woodworking skills I was learning. Through trial and error, I developed a way of working that blended the traditional double-bevel marquetry method with the thick hand-sawn veneers that we learned to make at The Krenov School. I’ve enjoyed adding marquetry to my woodworking ever since.
Defining the double-bevel technique
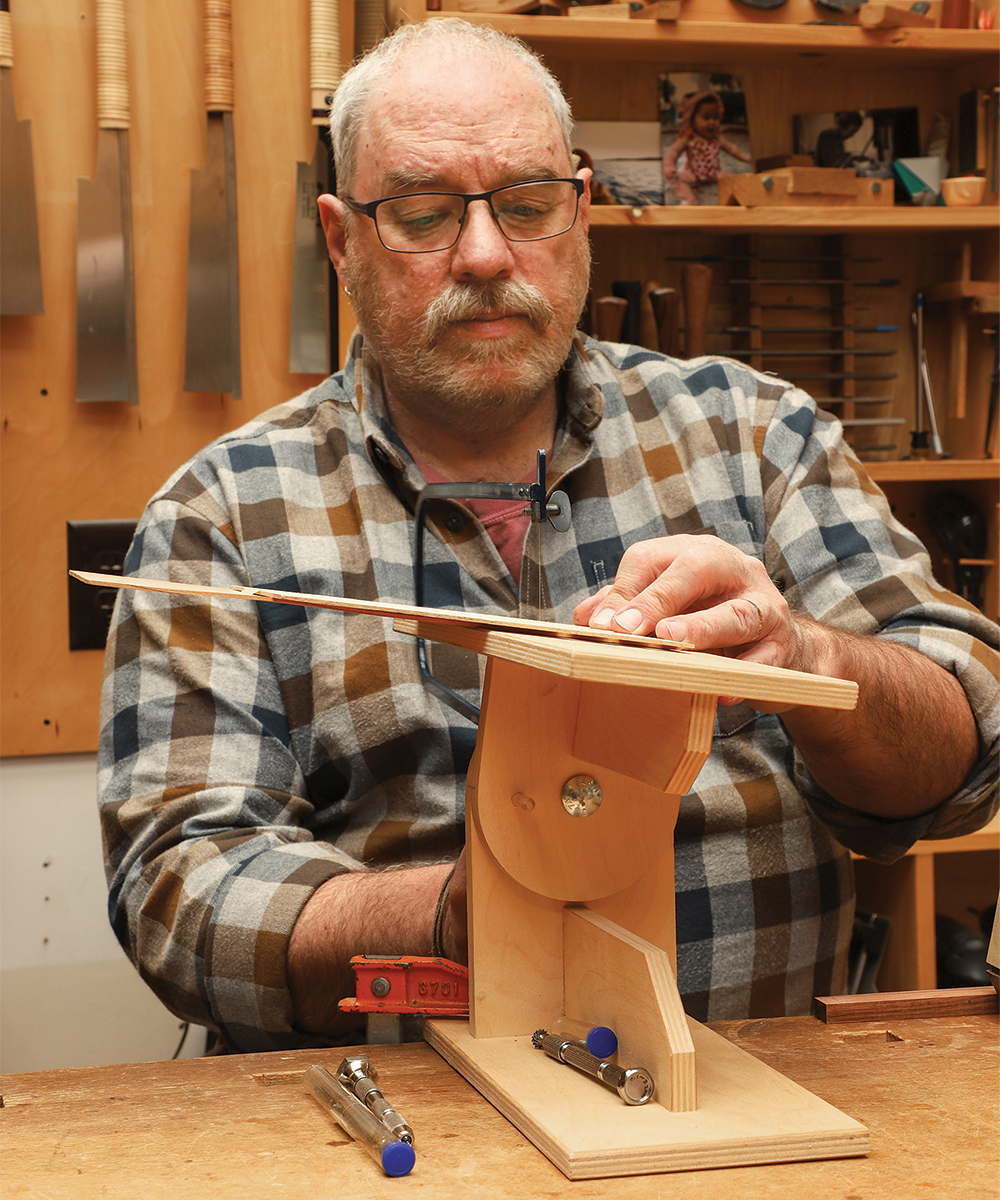
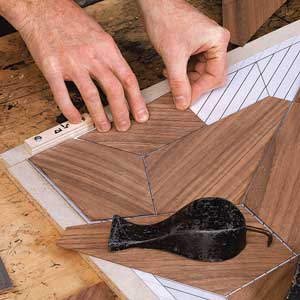
Simply put, double-bevel marquetry involves taping together two pieces of veneer—the background veneer and the insert veneer—and cutting both at once so that the opening you create in the background veneer and the piece you’ll insert into it are identical in size and shape. That’s the double part of the technique. As for the bevel part, the background veneer is on top as you saw, and the insert piece from the bottom veneer replaces the piece directly above it, bringing a new color or grain pattern to the image. Because you make the cuts with the saw table tilted, both the background and insert pieces are beveled on their edges. With just the right bevel angle, the sawkerf is completely eliminated and the fit of the marquetry pieces is perfect.
The double-bevel technique is ideal for creating a single precisely fitting marquetry design. Because the work is cut at an angle, only one insert piece can be made at a time. Other marquetry techniques permit you to stack veneers and cut multiples of the same shape at once; but they won’t fit seamlessly like pieces cut with the double-bevel technique.
What veneers are best for marquetry?
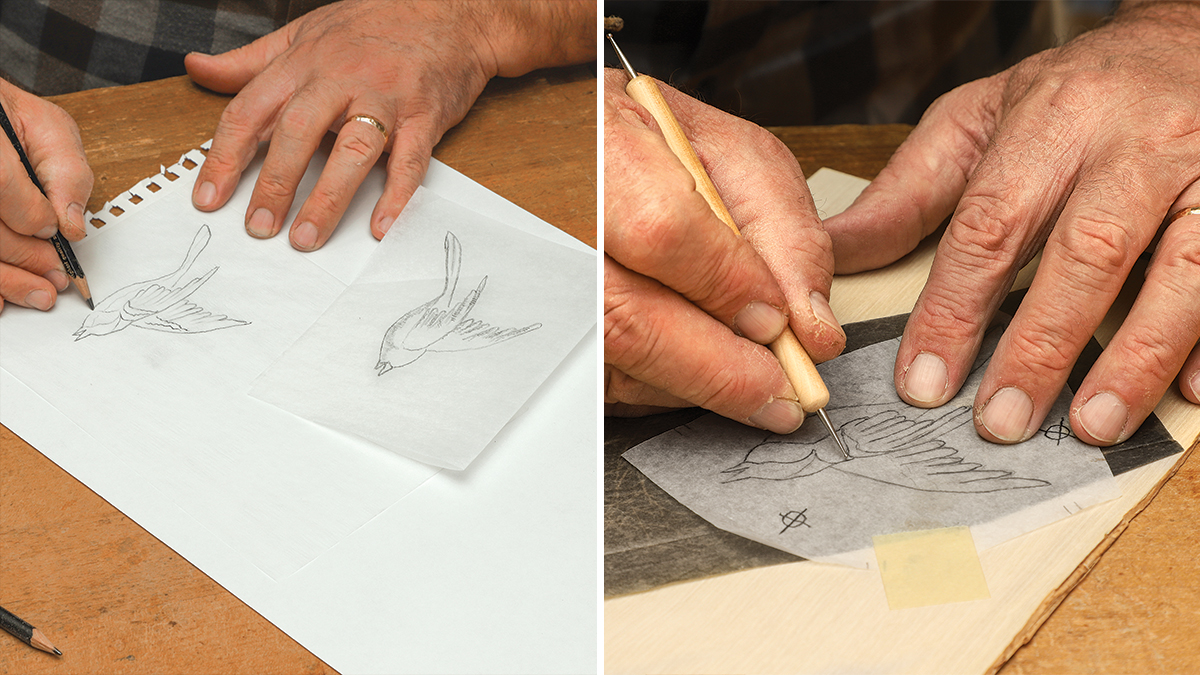
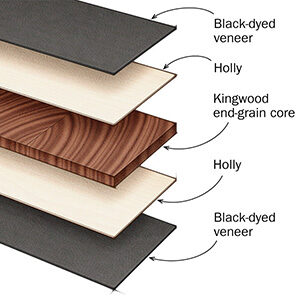
I slice my own veneers for marquetry from solid stock, sawing the sheets just over 1⁄16 in. thick on the bandsaw. I like working with thick veneer because the often small marquetry pieces are less delicate when you are sawing, handling, and gluing them, and there is plenty of thickness for scraping and sanding when the pattern is complete. Sawing your own veneers also lets you use scrapwood that might otherwise go to waste. In addition, when you add marquetry to furniture, you can saw the veneers for the marquetry from the same solid stock you use for the piece itself, producing perfect grain and color matches.

From Fine Woodworking #290
To view the entire article, please click the View PDF button below.









Comments
Craig discussing this technique would make an awesome webinar. (Hint, hint!)
Log in or create an account to post a comment.
Sign up Log in