Bandsawn Box with Drawer
This bandsawn box has a top lidded compartment as well as a bottom drawer and is easier to make than it looks.

Bandsawn boxes with drawers and compartments sawn from a block of solid wood present a mystery at first: “How was the cut made to form the inside of the box?” Look closely and you’ll find a fine line where the first cut was made. In making a bandsawn box, you simply cut wood apart and then glue it back together, with some parts left out. They are easier to make than they may look. The challenge is to decide on the order for cutting.
Bandsawn boxes require either large pieces of solid wood or pieces glued up from thinner stock. You will need a fine-cutting blade for your bandsaw, 1/4 in. or smaller, to make the tight radius cuts required for making a bandsawn box.
 Making the Box
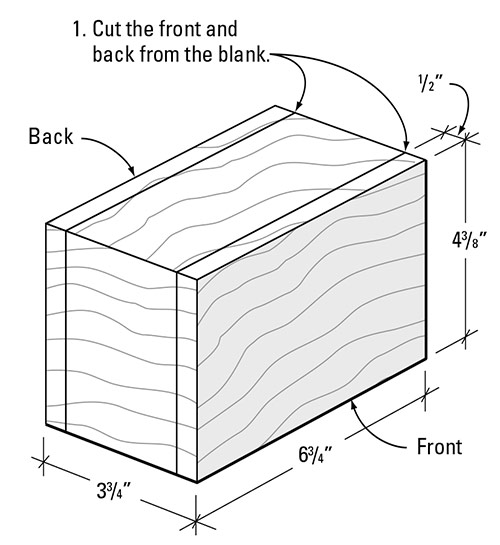
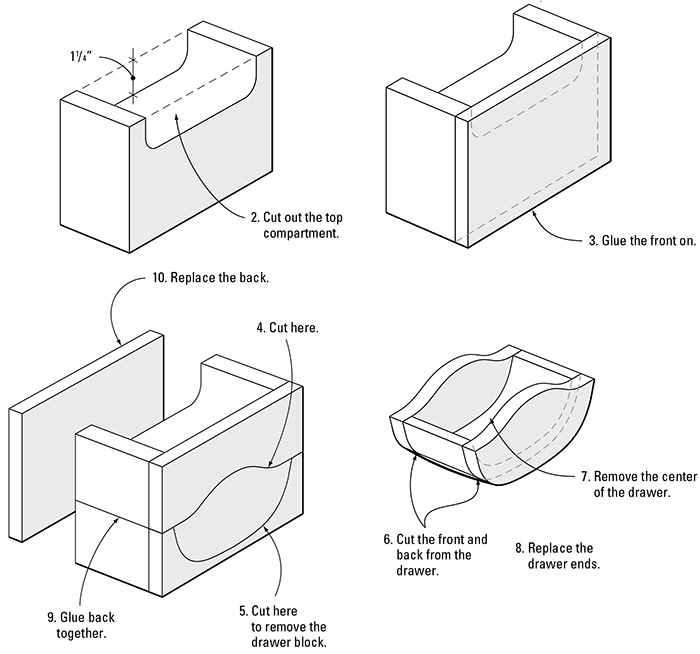
This bandsawn box has a top lidded compartment as well as a bottom drawer. The drawing below depicts graphically the same sequence of cuts and glue-ups shown in the photo series. Start with a block of wood that has been squared on two sides to pass across the bandsaw table and along the fence smoothly and safely. If necessary, glue up thinner stock to get the starting block.
Take slices, approximately 1/2 in. thick, from the front and back of the box on the bandsaw. A On heavily patterned wood like this spalted maple, it may be obvious how the wood fits back together, but on less figured woods, add pencil marks to help in the reassembly. Make a bandsaw cut at the top of the box to form the upper compartment. B
A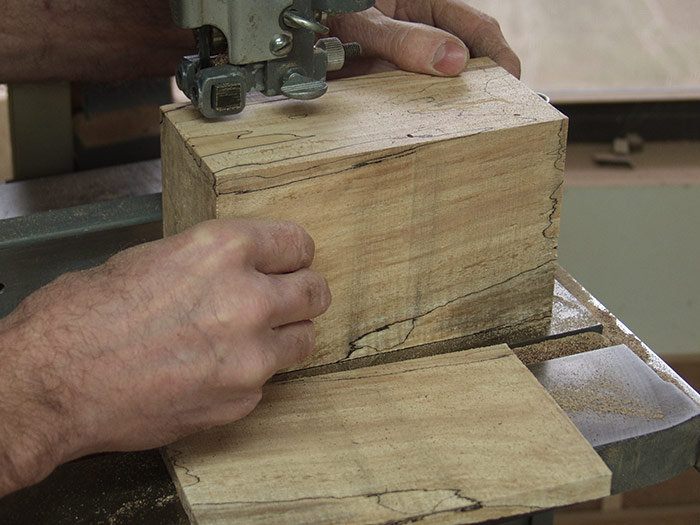 |
B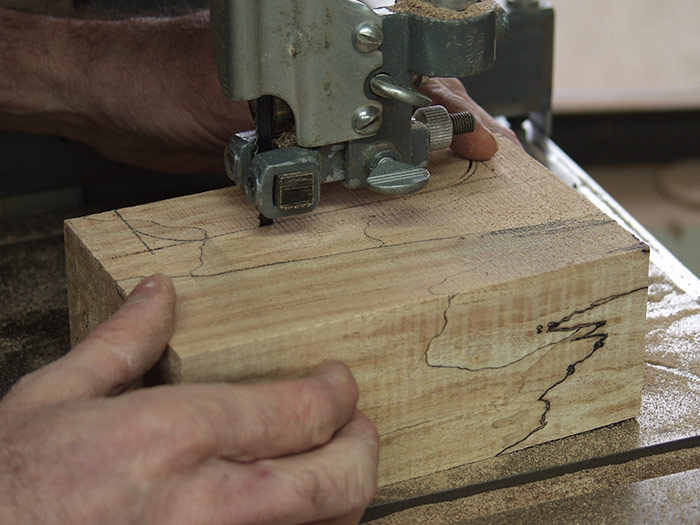 |
Before cutting the drawer on the front of the box, glue the front back in place on the block of wood. C Next, make cuts to define the shape of the drawer. D, E Take the drawer block, use the bandsaw with the fence to remove both the front and back, then remove the interior from the drawer. F Glue and clamp together both the box itself and the parts of the drawer, restoring their shape but with the hollowed spaces remaining. G
C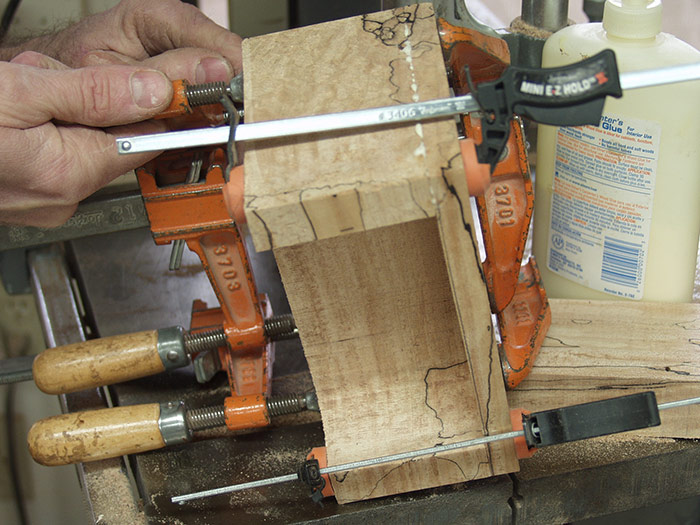 |
D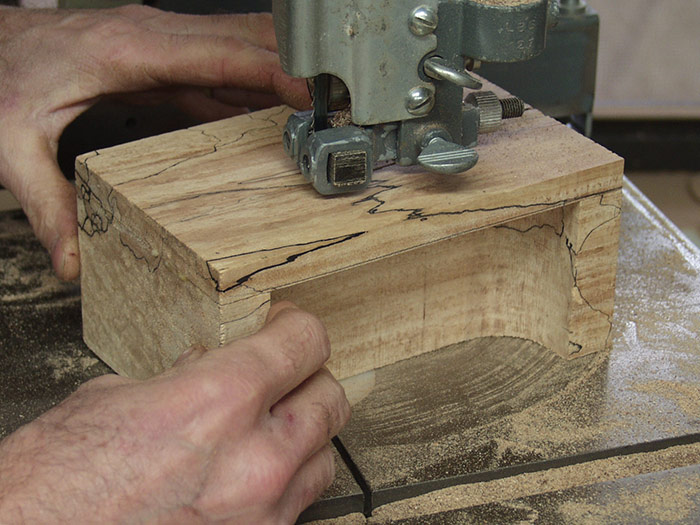 |
E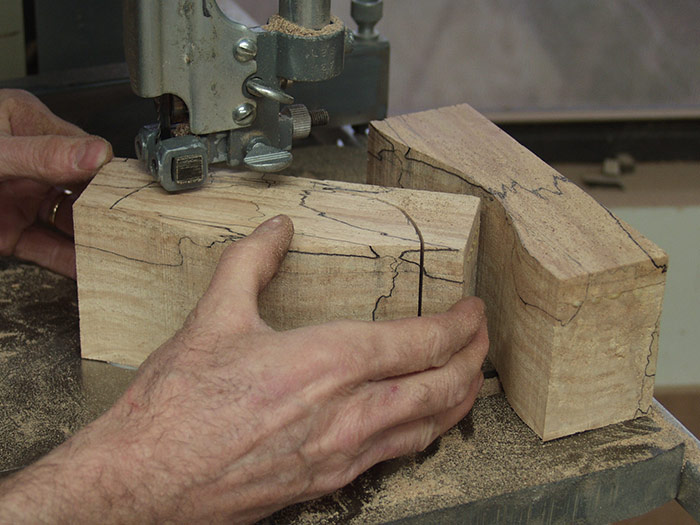 |
F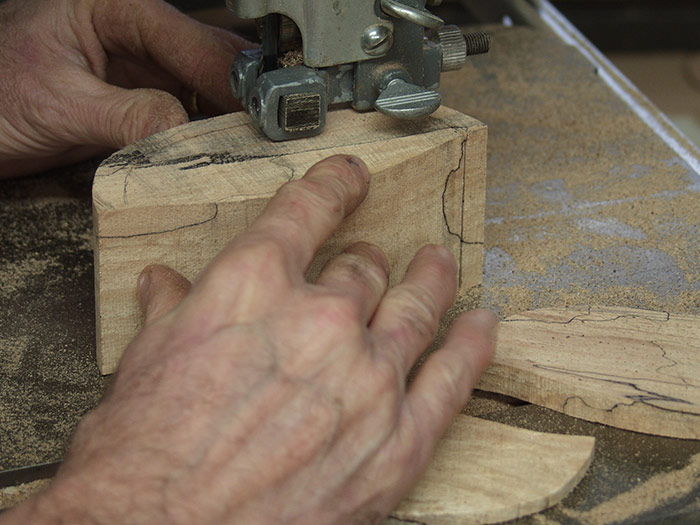 |
G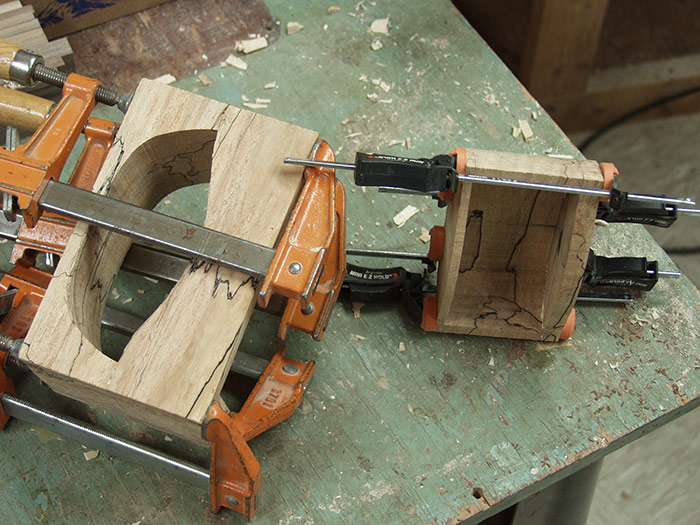 |
H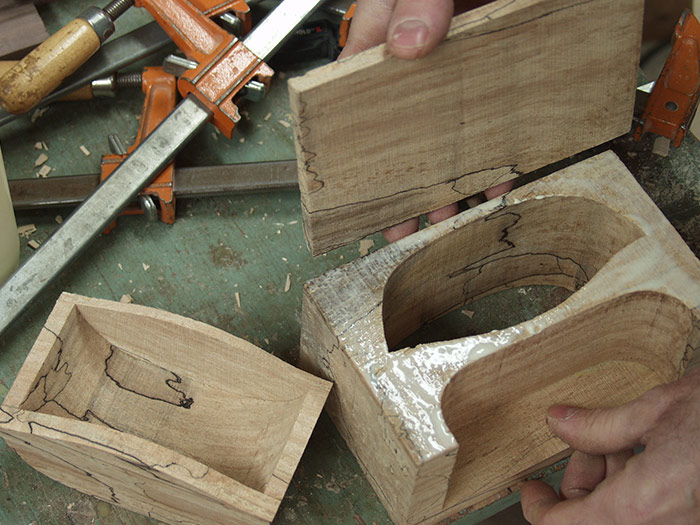 |
Finally, glue the back onto the box. H You can do additional shaping on the bandsaw at this time. I Using a stationary belt sander, remove bandsaw marks from the outside of the box. J Other parts like a base or lid can be added. To add an overlapping base or lid, use a pencil with a block taped to it to trace the shape for bandsawing and routing. K I added a contrasting walnut lid and base to this box. L
I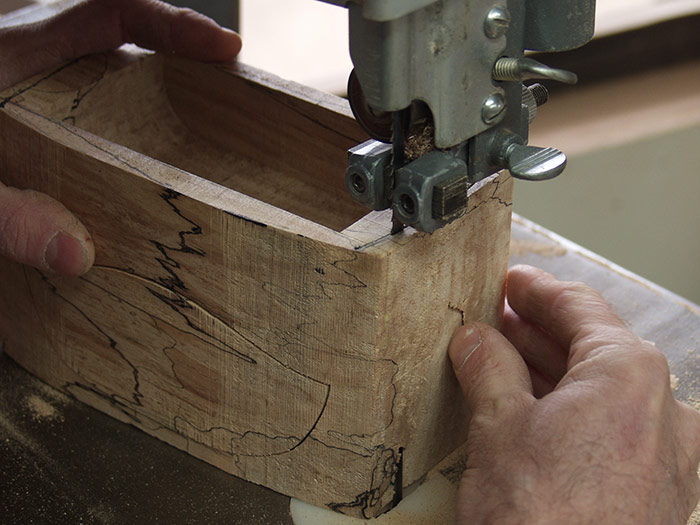 |
J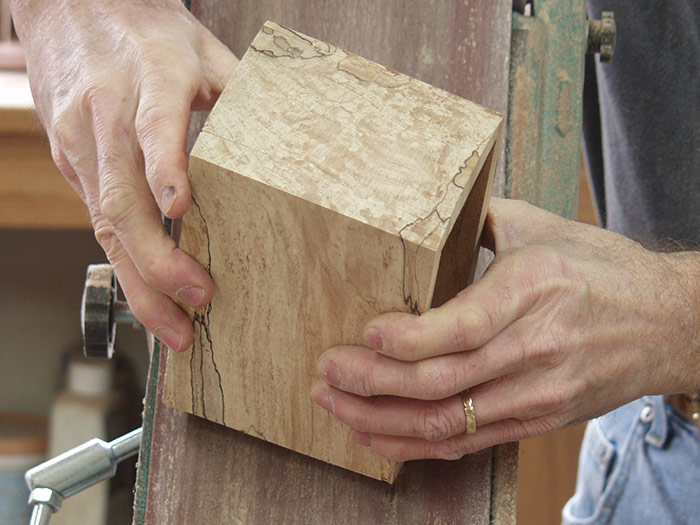 |
K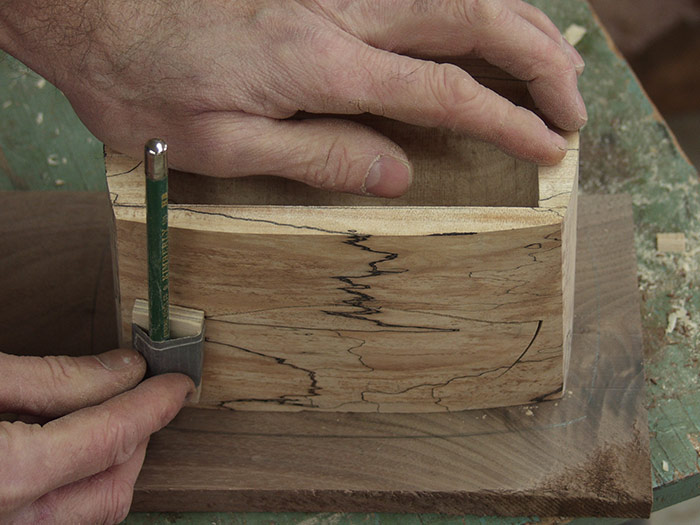 |
L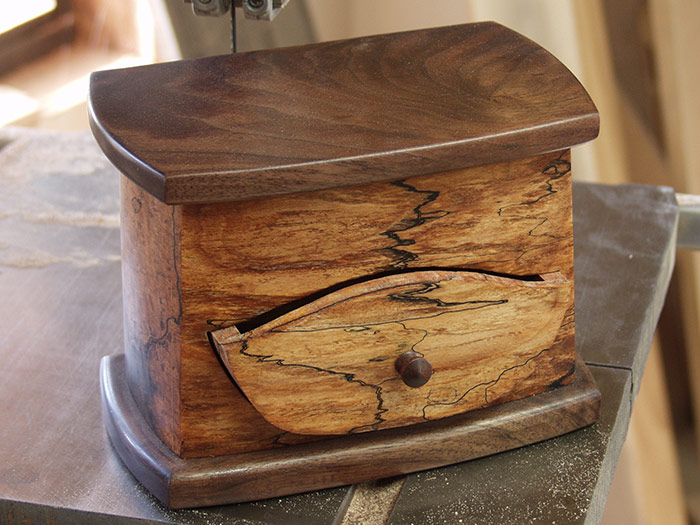 |
 Excerpted from Doug Stowe’s book, Complete Illustrated Guide to Box Making.
Browse the Taunton Store for more books and plans for making boxes.




Log in or create an account to post a comment.
Sign up Log in