Build a Lift-Lid Box, Part 2
Doug Stowe shows how to assemble the mitered box, reinforce the corners, and make the lid.

After preparing the parts for the body of the box, the next steps are to assemble the box, add keys at the corners for decorative reinforcement, and make the lift lid. The final step is to apply the finish.
Assembling the box
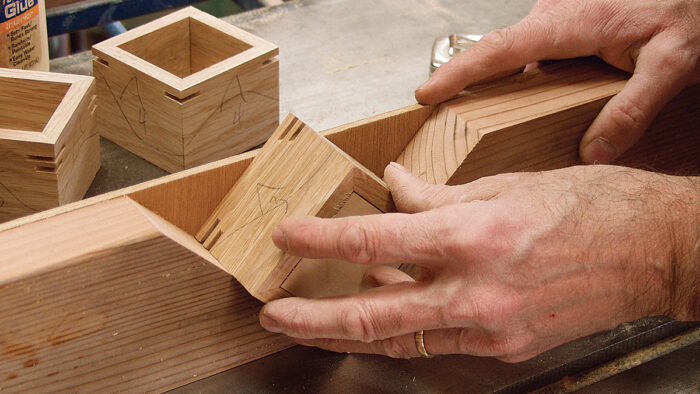
Care must be taken during assembly to keep the parts in order and the grain patterns continuous around the corners. This is where the pencil squiggle line comes in handy, particularly for woods with a subtle grain pattern.
1. Begin by laying out the parts in the order of assembly, with their outer faces up on the bench. You’ll flip the pieces over as the glue is applied.
Start your 14-day FREE trial to continue reading this story.
Plus, access more than 1,900 in-depth articles and more when you become a member.
Start Your Free Trial NowAlready a member? Log In


Log in or become a member to post a comment.
Sign up Log in