Make a Walnut Display Box, Part 2
In the second part of this mitered-box project, you'll learn how to assemble the box, set the hardware and glass, and apply the finish.

Assembling the box and top
The box and top parts could be made as one and then sawn apart, but I didn’t do that here. I cut the parts separately and assembled them separately. It takes a little longer, but is a bit safer with such a large box. I’m not keen on balancing the small ends on my tablesaw, or creating a large jig to steady the whole box.
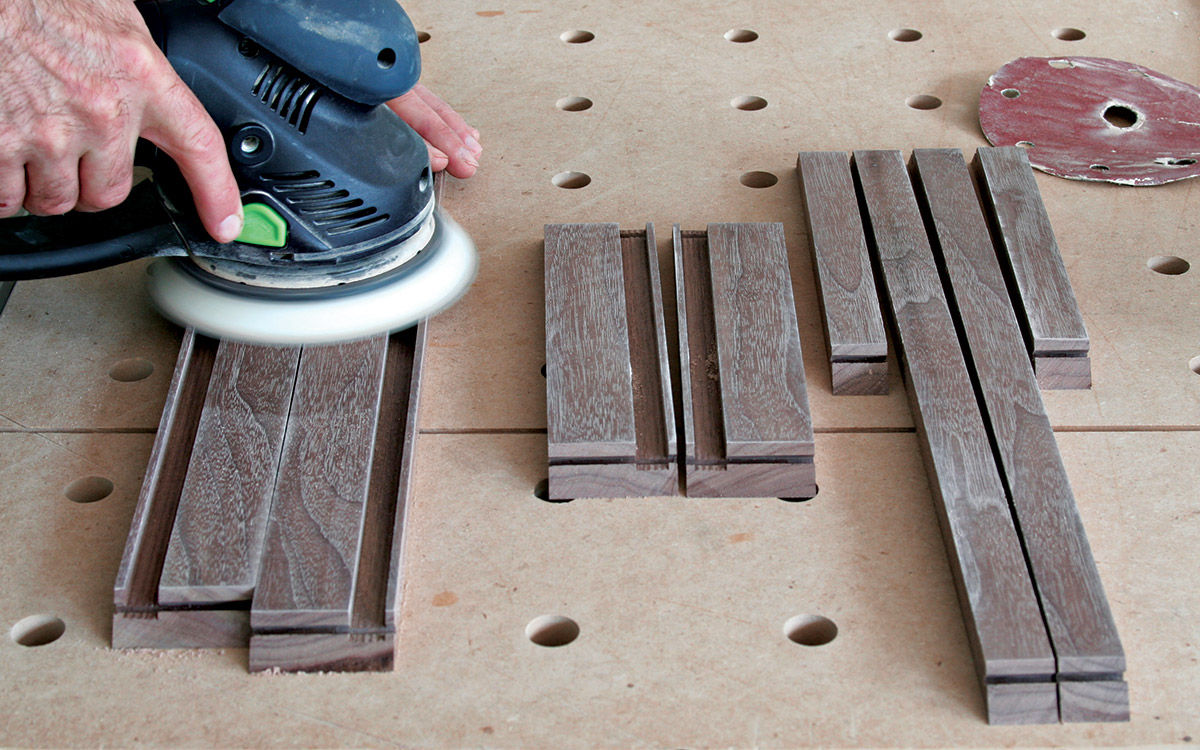
1. Sand the inside faces of all the parts.

2. Apply finish to the insides of the box sides with a little Danish oil. You need to finish them first because it’s easier to do it now rather than after assembly, when you’d have to mask the leather bottom.
Start your 14-day FREE trial to continue reading this story.
Plus, access more than 1,900 in-depth articles and more when you become a member.
Start Your Free Trial NowAlready a member? Log In


Log in or become a member to post a comment.
Sign up Log in