Video: Creating a charred and painted finish
Mark's applies an unusual finish to his wall shelves; first scorching the surface with a torch and then painting to create a one of a kind surface.
Start your 14-day FREE trial to watch this video
Plus, access more than 500 video workshop episodes when you become a member
My finish for the shelves combines burning and painting. I scorch the raw wood with a plumber’s torch and follow that with a soft wire brush to remove the loose soot from the burned surfaces. After blowing the shelf clean with compressed air, I apply three coats of white milk paint.
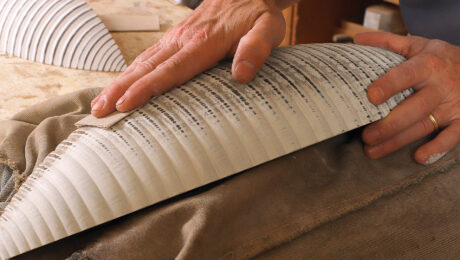
Once the paint is dry, I sand the beaded surface, taking strokes along the length of the shelf, first with 150-grit paper and then 220. This leaves the paint in the valleys between the beads but sands it away on the high spots, revealing the charred wood and creating a nice graphic effect. After blowing the shelf clean again, I spray on three or four coats of a clear matte acrylic lacquer.
Videos in the Series
-
Video: Creating a split turning blank
August 4, 2021
-
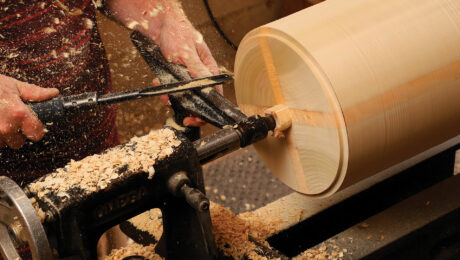
Video: Turning the wall shelf
August 4, 2021
-
Video: Creating a charred and painted finish
August 4, 2021













Comments
This is a great project, and I was glad to see the video to support it. Thank you!
Awesome project. Inspired me to try this method. Do you also apply a clear coat as a final step? If so what do you recommend? Thanks for sharing your process.
Log in or become a member to post a comment.
Sign up Log in