Creating Curved Furniture
Learn when it's best to saw, steam-bend, or laminate parts for chairs and other projects.

Synopsis: Curves add life, flow, and energy to a piece of furniture; they also add technical challenges. Brian Boggs says a mastery of curves is vital for a chairmaker like him, but it’s also a valuable skill if you make casework and tables. Here is a guide to the three chief ways to get curved furniture parts—sawing, laminating, and steam-bending. Boggs lays out the characteristics of each approach, giving advice on which ones work best in each situation.
A straight line is a wasted opportunity. I love that quote from the furniture maker Jere Osgood, a wizard with curves. It’s been curves and their sculptural relationships that have kept me so enthusiastic about furniture design for more than three decades. Curves move and flow and add life to a piece. And, yes, they add technical challenges. A mastery of curves is vital for a chairmaker, but it is also a great boon for the maker of casework and tables.
There are three chief ways to get the curve you want: sawing, laminating, and steam-bending. Each of these methods has an important place in my designs. Sometimes all three are called for in a single chair. Understanding the benefits and limitations of each method and knowing which one to use in each new situation will give you the freedom to bring all sorts of curves into your work.
Here, I’ll lay out the characteristics of each approach to bending—the factors that make one method just right for producing a certain curve but all wrong for producing another one. In addition to weighing the factors I describe, you’ll want to consider the variables particular to your situation: questions of space, tools, time, and the number of duplicate parts you’re making. These factors will also guide your decisions about how to achieve a curve.
Sawn curves

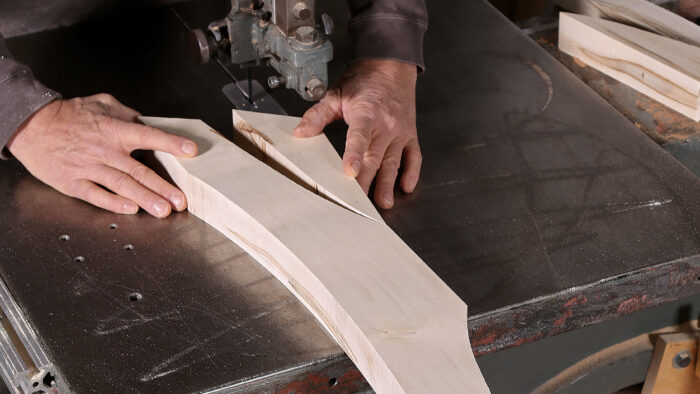
Sawing is the starting place. Even if you’ve mastered steam-bending and lamination, sawing will often be the default choice for producing a curve in wood. It is the simplest and quickest method, and it requires the least setup. It allows you to make limitless shapes and, unlike steam-bending and lamination, it lets you create different curves on opposing sides of a workpiece. It also enables you to create curves in stock of virtually any thickness—you’re limited only by the capacity of the saw you use.
The bandsaw is the primary tool for sawing curves. Depending on the situation and on your tool kit, of course, you might sometimes use a scrollsaw, a saber saw, or a jigsaw instead. But the bandsaw is the workhorse of sawn curves.
Limitations and challenges – The key limitation when you saw curves in solid wood is grain continuity. To put it bluntly, short grain is the curse of the sawn curve. For both structural integrity and aesthetic appeal, it’s always best to have the long grain of the work-it bluntly, short grain is the curse of the sawn curve. For both structural integrity and aesthetic appeal, it’s always best to have the long grain of the work-piece follow the curve as much as possible—or at least not to fight it too fiercely. The tighter the curve’s radius, the more likely you are to create a structural or visual problem. you’ll need to design parts and orient them on the raw stock to minimize short grain and take advantage of any natural curve in the grain..
Sawing
| Advantages | Requirements | Challenges and Limitations |
|
|
|
Bent Lamination

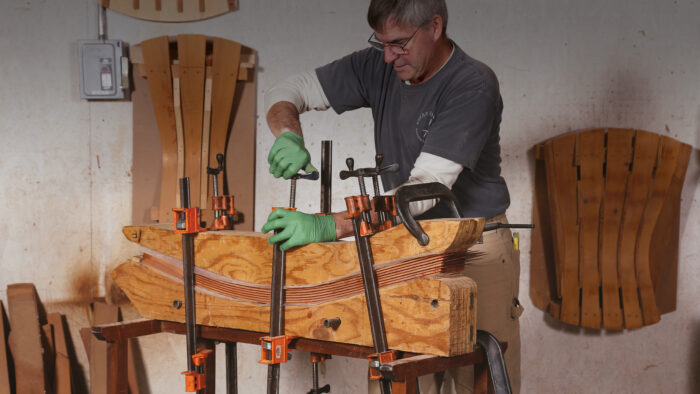
A curve made by bent lamination will be the strongest and most stable of all the choices. It allows the thinnest, lightest option for creating a strong part. and it produces a workpiece with grain that follows the curve completely. That fact, combined with the multitude of face-grain glue joints, gives a laminated part its great strength. unlike steam-bent parts, laminated ones experience virtually no springback when you take them out of their forms. Most bent laminations are made with laminates of a constant thickness, but you can also create curved workpieces that are tapered in thickness by gluing up tapered laminates.
Bent lamination will work with virtually any wood, and for most shops it is simpler and easier than steaming, since the steambox and steam-bending forms are more time-consuming to make than the forms needed for lamination. Lamination also makes more sense whenever you have limited access to air-dried, straight-grained wood—required for steam-bending—or when you are working with tropical woods, which typically don’t steam-bend well but do fine in bent lamination.
Limitations and challenges – Bent-lamination depends entirely on glue bonds for its structural integrity. Successful bends require accurately machined laminates, uniform pressure through-out the bend, and a full understanding of the glue.
Although bent-lamination produces a part of maximum strength, it does so at the cost of many exposed gluelines, which can detract visually from the piece. a number of variables affect the visibility of the gluelines—the grain of the wood, the thickness of the laminates, and the color contrast between the hardened glue and the wood. also, cutting into the face of a bent-laminated workpiece risks exposing the gluelines—sometimes creating an ugly wide stripe—so makers generally avoid shaping the outside laminations. Shaping is typically restricted to cutting into the edges, or tapering the laminates individually.
| Advantages | Requirements | Challenges and Limitations |
|
|
|
Steam-bending

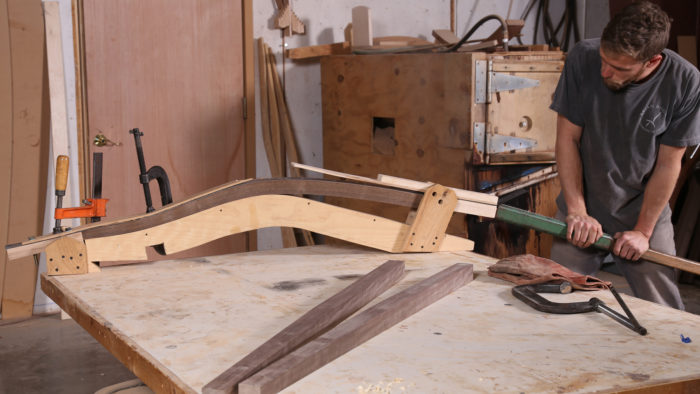
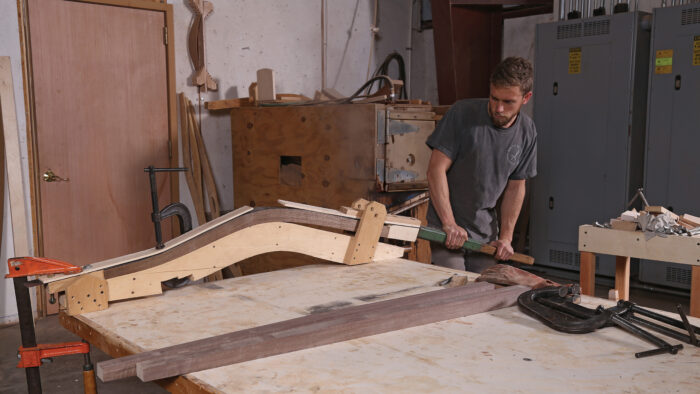
Steam-bending is my favorite way to produce curved parts. The wood grain follows every curve and has a perfectly natural appearance; the steam-bent part has no glue-lines to cope with, so it can be shaped after steaming. If I’m mak-ing multiples, steam-ing is typically my first choice. economy has a lot to do with this, as a steam-bent part is almost always quicker and less expensive to reproduce once the steamer is built and the forms are made.
Not all steam-bending requires complex forms. While I might invest a lot of time making a production leg-bending form, I can bend slats for fanback chairs with no form at all—just a bar clamp. I can make fine adjust-ments to the shape at assembly, either cold or with a heat gun.
Limitations and challenges – Successful steam-bending requires an understanding of the specific wood species you want to bend. you need to heat the wood just enough to achieve maximum plasticity with-out weakening it too much, and the bending forms need to be made with each species’ springback tendencies considered. also, there are many species—especially tropical ones—that simply don’t steam-bend well.
There’s a learning curve with each new shape, jig, and species. and un-til you have worked out these issues, there is bound to be some breakage—consider it a small fee for mastering the process.
| Advantages | Requirements | Challenges and Limitations |
|
|
|
For the full article, download the PDF below.
More on Fine Woodworking.com:
- An interview with chairmaker Brian Boggs – Ben Strano sits down and discusses all things furniture making with Brian Boggs
- Get Sharp the Diamond Way – How to sharpen chisels and planes using diamond plates
- Using Your Spokeshave – Even a well-tuned shave requires practice to master
- Post-and-Rung Stool – Nontraditional approach simplifies round-tenon joinery without sacrificing strength


Comments
It is interesting information.
Log in or create an account to post a comment.
Sign up Log in